
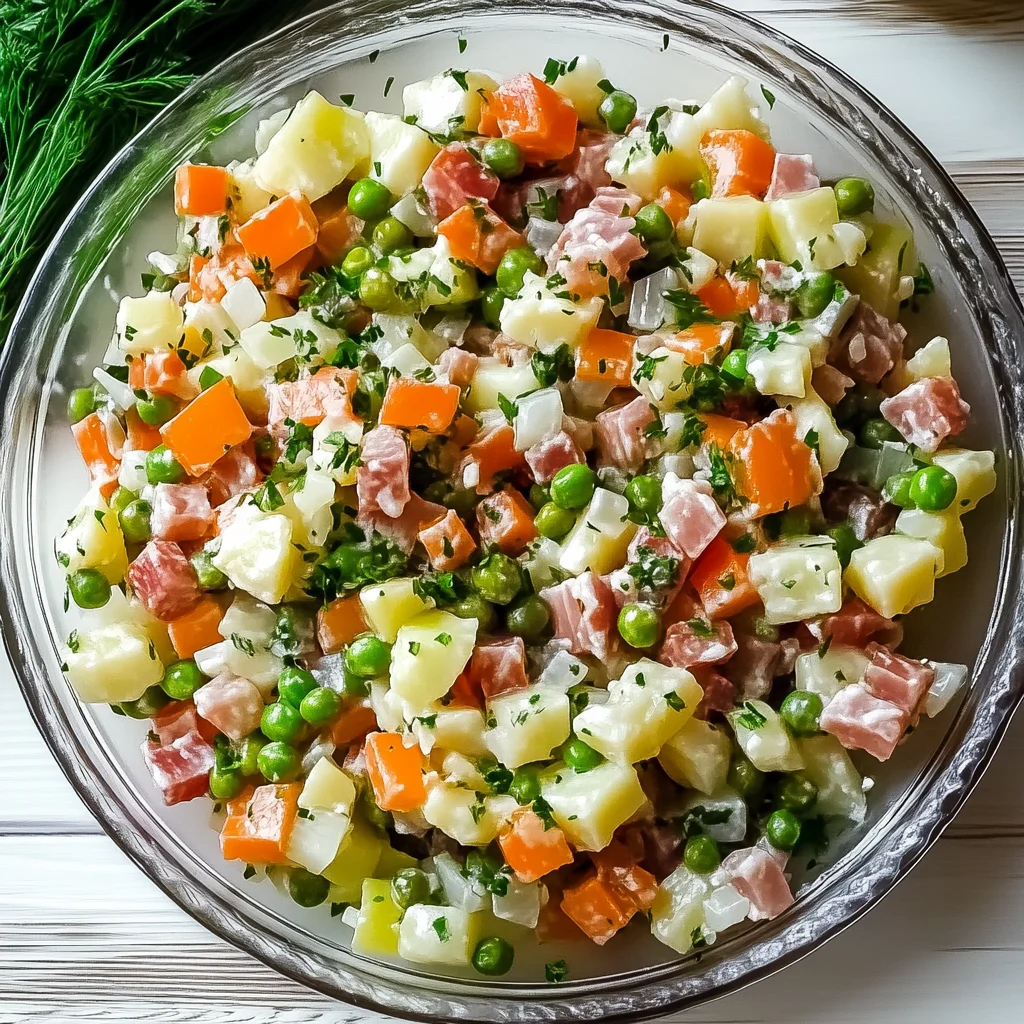
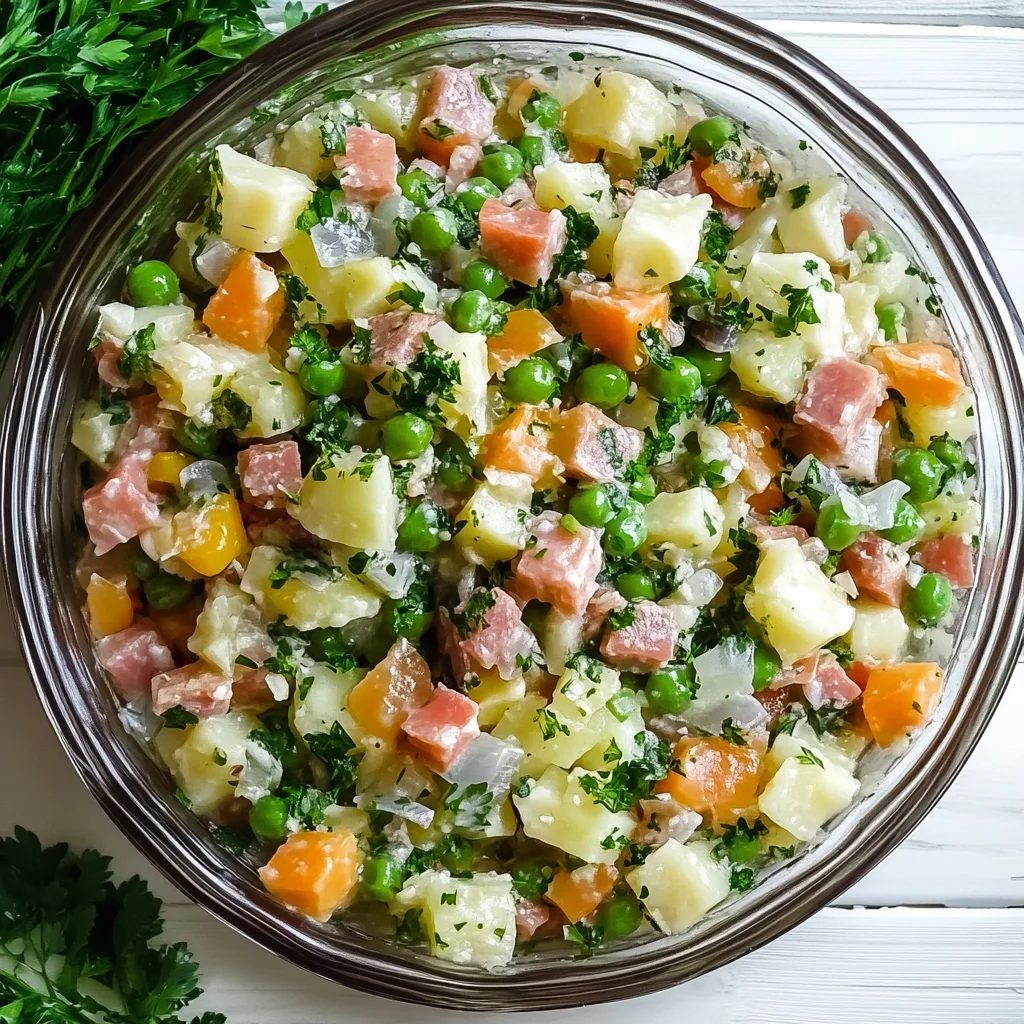
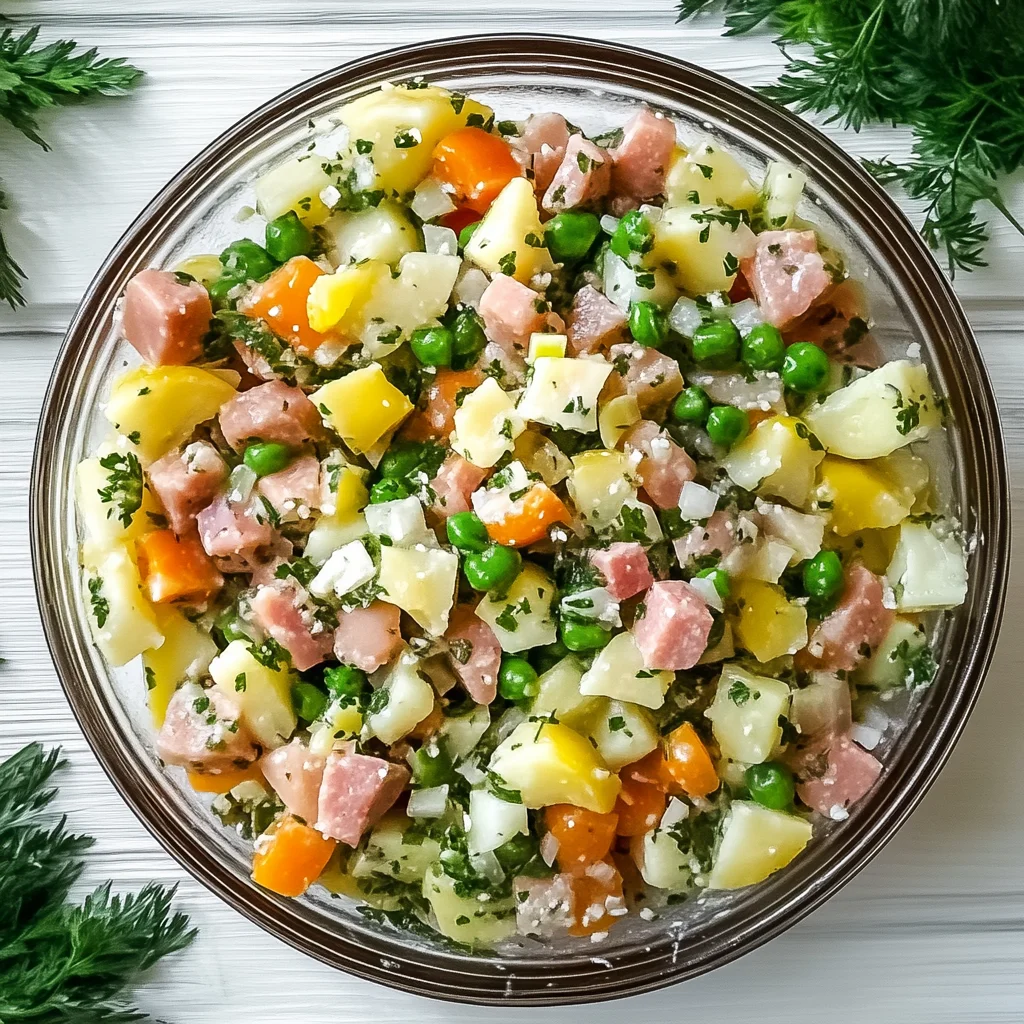
Hey there, salad lovers! The Best Olivye Salad is a delightful dish that brings together a mix of textures and flavors. This hearty salad is perfect for gatherings, potlucks, or even as a comforting meal at home. With its creamy dressing and vibrant ingredients, it’s sure to impress your guests while being easy to prepare.
Why You’ll Love This Recipe
- Flavorful Combination: The mix of chicken, veggies, and pickles creates a delicious balance that tantalizes your taste buds.
- Easy Preparation: With just 20 minutes of prep time, you’ll have a delicious dish ready in no time.
- Versatile Dish: Perfect for any occasion—whether it’s a holiday meal or a casual dinner with friends.
- Crowd-Pleasing: This salad is loved by many and often becomes the star of the table during gatherings.
- Nutritious Ingredients: Packed with proteins and vitamins from fresh vegetables, it makes for a wholesome meal option.
Tools and Preparation
To make the Best Olivye Salad, having the right tools can help streamline your cooking process. Here’s what you’ll need:
Essential Tools and Equipment
- Mixing bowl
- Knife
- Cutting board
- Measuring cups
- Potato peeler
Importance of Each Tool
- Mixing bowl: A large bowl allows you to combine all ingredients without spilling.
- Knife: A sharp knife makes chopping veggies and meats easier and safer.
- Measuring cups: Ensures you add the right amounts for balanced flavor.
Ingredients
For the Salad Base
- 1 pound ham chicken
- 3 medium-sized potatoes
- 4 medium-sized carrots
- 15 ounces of peas, drained
- 5 hard-boiled eggs
- 5 pickles (medium to large)
- 1/3 cup chopped green onions
- 1/4 cup chopped dill
For the Dressing
- 3/4 cup mayonnaise (adjust to preference)
- Salt and pepper (season to taste)
For Garnish
- 2 tablespoons fresh parsley, finely chopped
How to Make Best Olivye Salad
Step 1: Prepare the Ingredients
Begin by boiling the potatoes and carrots in salted water until tender. This should take about 30 minutes. Once cooked, allow them to cool before peeling.
Step 2: Chop the Main Ingredients
Once cooled, chop the potatoes, carrots, ham chicken into small cubes. Also, dice the pickles and hard-boiled eggs.
Step 3: Combine Ingredients
In a large mixing bowl, combine the chopped potatoes, carrots, ham chicken, peas, pickles, eggs, green onions, and dill.
Step 4: Make the Dressing
In a separate bowl, mix mayonnaise with salt and pepper to taste. You can adjust the amount of mayonnaise based on your preference for creaminess.
Step 5: Mix Everything Together
Pour the dressing over your salad mixture. Gently fold everything together until well combined. Be careful not to mash the ingredients.
Step 6: Chill Before Serving
Cover the salad with plastic wrap and refrigerate for at least one hour before serving. This allows flavors to meld beautifully.
Now you’re all set to enjoy your Best Olivye Salad!
How to Serve Best Olivye Salad
Serving your Best Olivye Salad can elevate any meal and make it truly memorable. Here are some delightful ideas on how to present this classic dish.
As a Main Dish
- Serve it chilled in a large bowl for family gatherings. This makes it easy for guests to help themselves.
On a Bed of Greens
- Place the salad over fresh lettuce or spinach. This adds a crunchy texture and makes the dish visually appealing.
In Individual Cups
- Use small cups or jars for individual servings. This is perfect for parties or picnics, making each portion easy to grab.
With Fresh Breads
- Pair with crusty bread or dinner rolls. The combination of flavors is delicious and satisfying.
How to Perfect Best Olivye Salad
Perfecting your Best Olivye Salad requires a few simple tips to enhance the flavors and presentation.
- Choose fresh ingredients: Fresh vegetables and quality chicken will improve the overall taste significantly.
- Adjust mayo to taste: Customize the creaminess by adding more or less mayonnaise according to your preference.
- Cool before serving: Allow the salad to chill in the refrigerator for at least an hour. This helps all flavors meld together beautifully.
- Garnish creatively: Use extra dill or chopped green onions on top for an attractive finish.
Best Side Dishes for Best Olivye Salad
Pairing your Best Olivye Salad with the right side dishes can enhance your meal experience. Here are some excellent options.
- Garlic Bread: A warm, buttery garlic bread complements the creamy salad perfectly.
- Roasted Vegetables: Seasonal roasted veggies add a healthy crunch that balances the richness of the salad.
- Stuffed Peppers: Colorful stuffed peppers filled with rice and spices bring additional flavor contrast.
- Quinoa Salad: A light quinoa salad adds protein and fiber, making it a wholesome pairing.
- Tomato Soup: A warm bowl of tomato soup pairs beautifully with the cold salad for a delightful temperature contrast.
- Coleslaw: A tangy coleslaw provides crunch and acidity that brightens up every bite of the salad.
Common Mistakes to Avoid
When making the Best Olivye Salad, it’s easy to make some common errors. Here are a few mistakes to watch out for:
- Using uncooked chicken: Always use cooked chicken in your salad. Boil or roast the chicken before adding it to ensure food safety and enhance flavor.
- Overcooking vegetables: Don’t boil your potatoes and carrots for too long. They should be tender but not mushy, as this will affect the texture of your salad.
- Skipping seasoning: Failing to season can lead to bland flavors. Always taste and adjust salt and pepper before serving.
- Using low-quality mayonnaise: The dressing is crucial for flavor. Opt for a good quality mayonnaise to elevate the taste of your Best Olivye Salad.
- Not chilling before serving: Serving the salad immediately can result in a less flavorful dish. Allowing it to chill enhances the flavors.
Storage & Reheating Instructions
Refrigerator Storage
- Store your salad in an airtight container.
- It will last up to 3 days in the refrigerator.
- Keep it away from strong-smelling foods to avoid flavor contamination.
Freezing Best Olivye Salad
- We do not recommend freezing the Best Olivye Salad, as the texture of the vegetables and mayonnaise may change upon thawing.
Reheating Best Olivye Salad
- Oven: Preheat to 350°F (175°C). Place salad in an oven-safe dish, cover with foil, and heat for about 15 minutes.
- Microwave: Transfer portions into a microwave-safe bowl. Heat in 30-second intervals until warm, stirring in between.
- Stovetop: Gently reheat on low heat, stirring frequently. This method helps maintain texture without overcooking.
Frequently Asked Questions
What is the Best Olivye Salad?
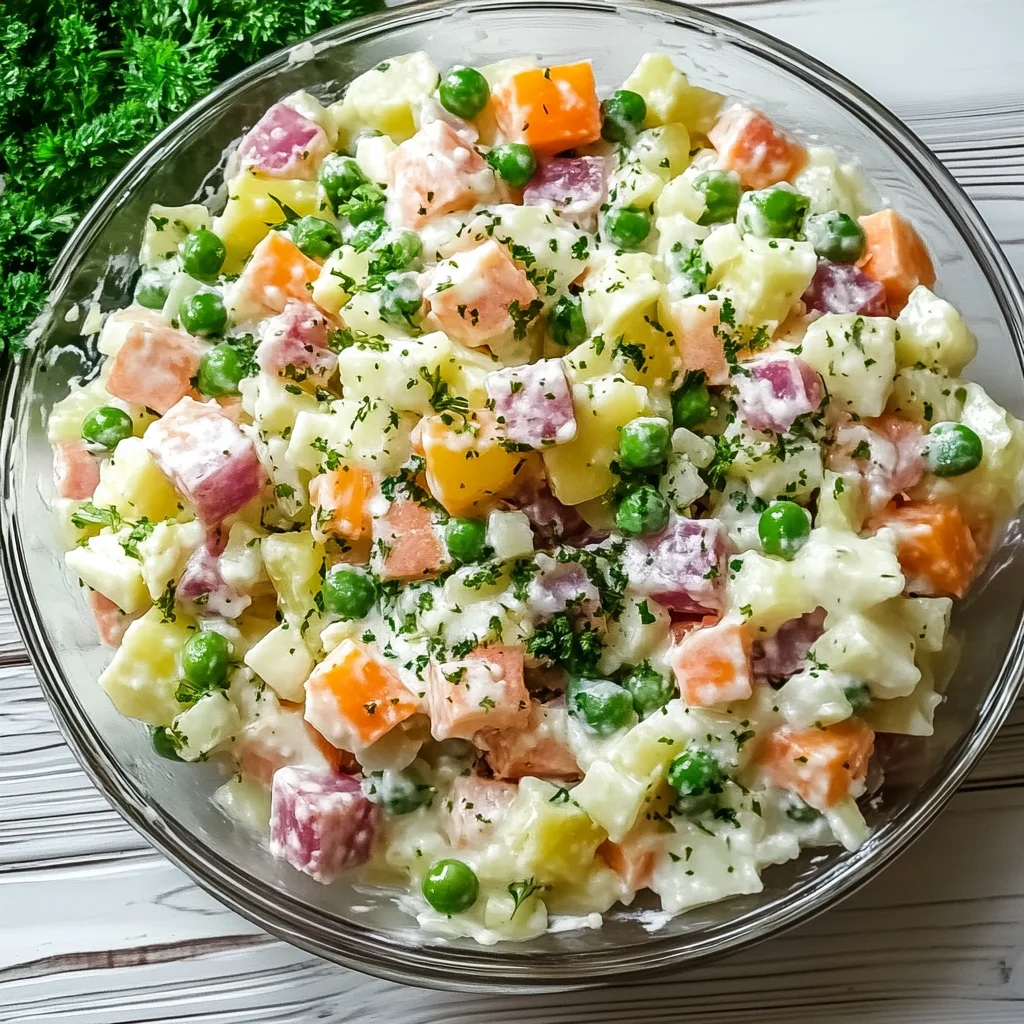
The Best Olivye Salad is a traditional Russian dish made with diced boiled chicken, vegetables, peas, eggs, pickles, and mayonnaise. It’s known for its creamy texture and hearty ingredients.
Can I customize the Best Olivye Salad?
Absolutely! You can add ingredients like apples for sweetness or swap out chicken for turkey based on your preference.
How long does the Best Olivye Salad last?
When stored properly in an airtight container, it lasts up to 3 days in the refrigerator.
Is it possible to make a vegetarian version of the Best Olivye Salad?
Yes! Substitute chicken with tofu or chickpeas and use vegetable mayo instead of regular mayonnaise for a vegetarian option.
Final Thoughts
The Best Olivye Salad is not only delicious but also incredibly versatile. You can easily customize it with various ingredients based on your tastes or what you have on hand. Whether served at parties or as an everyday meal, this salad is sure to impress everyone. Give it a try!

Best Olivye Salad
Discover the joy of creating the Best Olivye Salad, a classic dish that harmonizes tender chicken, crisp vegetables, and creamy dressing into a delightful meal. Perfect for holiday gatherings, potlucks, or casual dinners, this salad is not only easy to prepare but also a crowd-pleaser. With its vibrant colors and rich flavors, the Best Olivye Salad will surely impress your guests while providing a nutritious option. In just 20 minutes of prep time, you can whip up this hearty salad that’s packed with proteins and vitamins from fresh ingredients. Enjoy every bite as the flavors meld beautifully after chilling in the fridge.
- Total Time: 50 minutes
- Yield: Serves approximately 6
Ingredients
- 1 pound cooked ham chicken
- 3 medium-sized potatoes
- 4 medium-sized carrots
- 15 ounces peas (drained)
- 5 hard-boiled eggs
- 5 pickles (medium to large)
- 1/3 cup chopped green onions
- 1/4 cup chopped dill
- 3/4 cup mayonnaise (adjustable)
- Salt and pepper to taste
Instructions
- Boil potatoes and carrots in salted water until tender (about 30 minutes). Cool and peel.
- Chop cooled potatoes, carrots, ham chicken into small cubes. Dice pickles and hard-boiled eggs.
- In a large mixing bowl, combine all chopped ingredients including peas, green onions, and dill.
- In a separate bowl, mix mayonnaise with salt and pepper to taste.
- Pour dressing over the salad mixture and gently fold until well combined.
- Cover with plastic wrap and refrigerate for at least one hour before serving.
- Prep Time: 20 minutes
- Cook Time: 30 minutes
- Category: Salad
- Method: Mixing
- Cuisine: Russian
Nutrition
- Serving Size: 1 serving
- Calories: 420
- Sugar: 3g
- Sodium: 620mg
- Fat: 27g
- Saturated Fat: 4g
- Unsaturated Fat: 22g
- Trans Fat: 0g
- Carbohydrates: 30g
- Fiber: 5g
- Protein: 14g
- Cholesterol: 150mg
Keywords: For added flavor, consider incorporating diced apples or swapping chicken for turkey. Ensure all vegetables are freshly prepared for the best taste.