
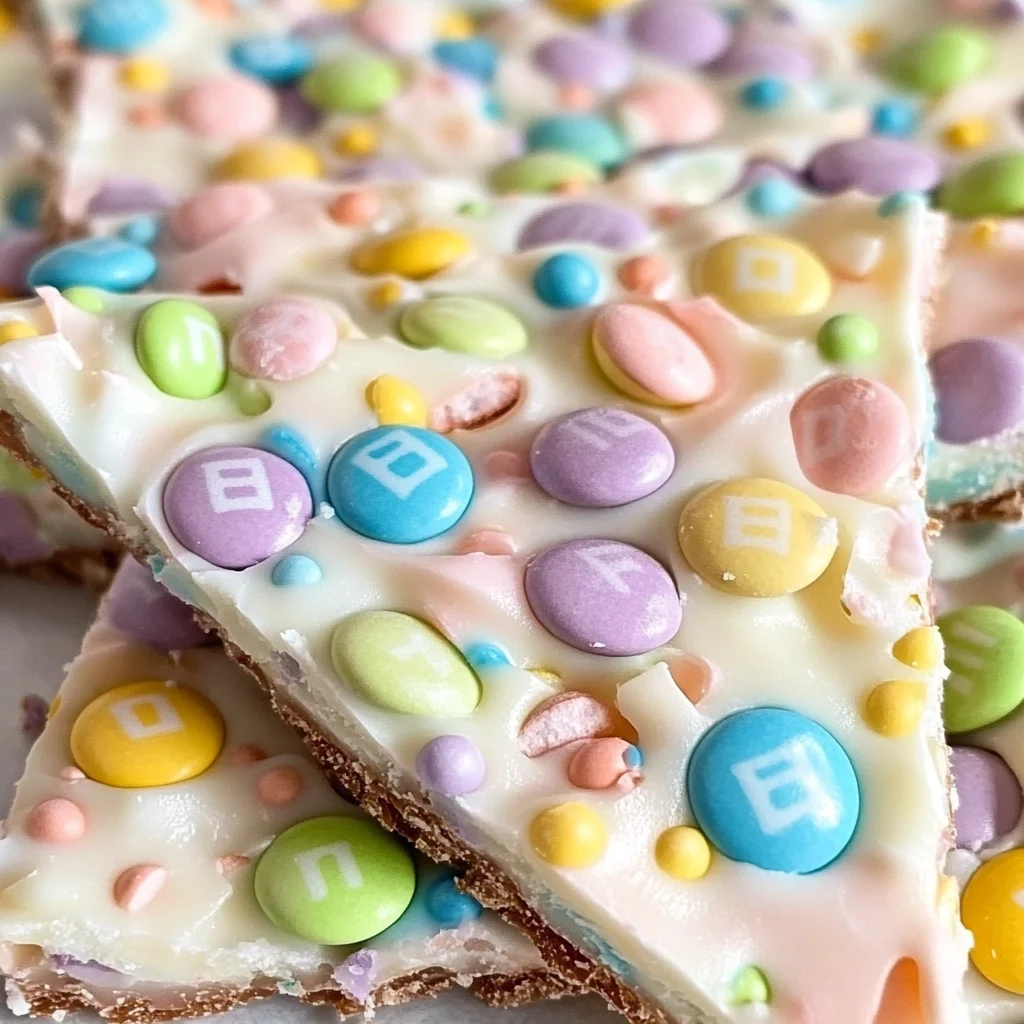
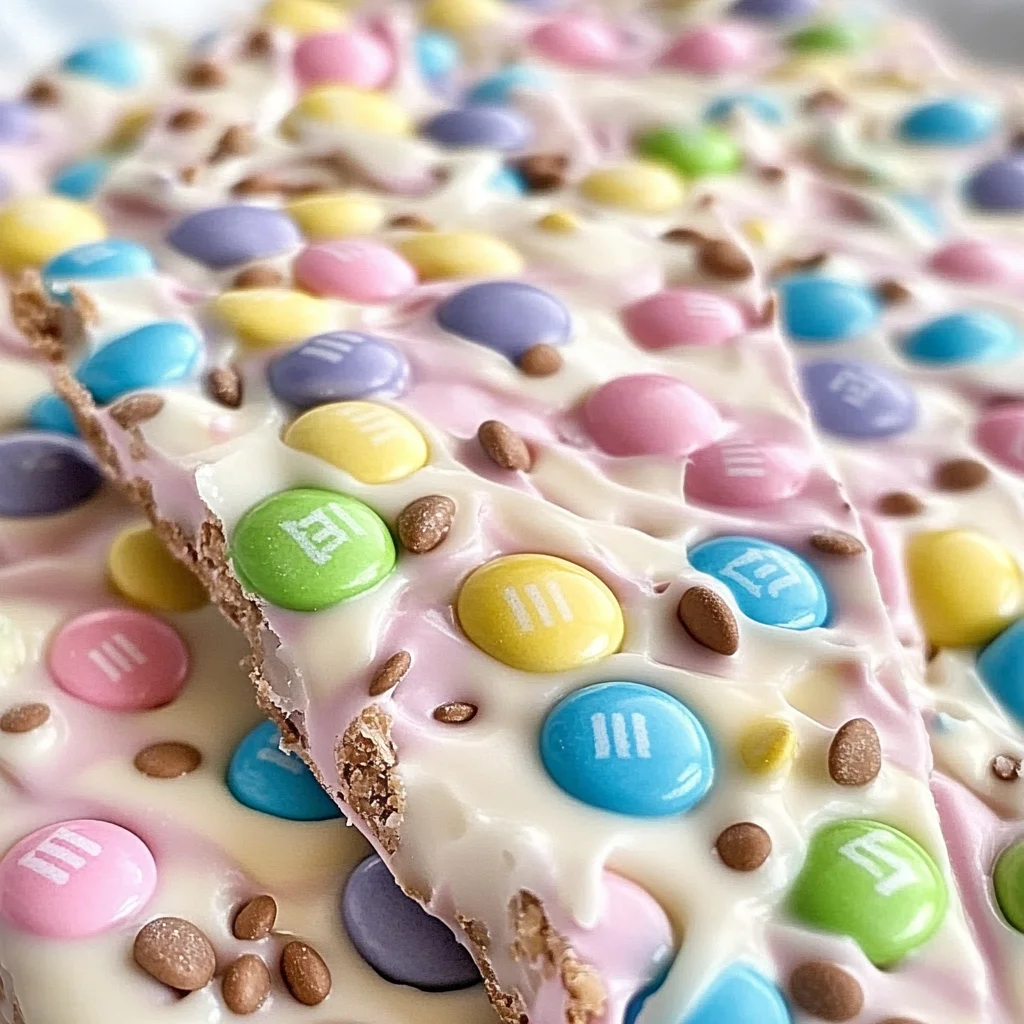
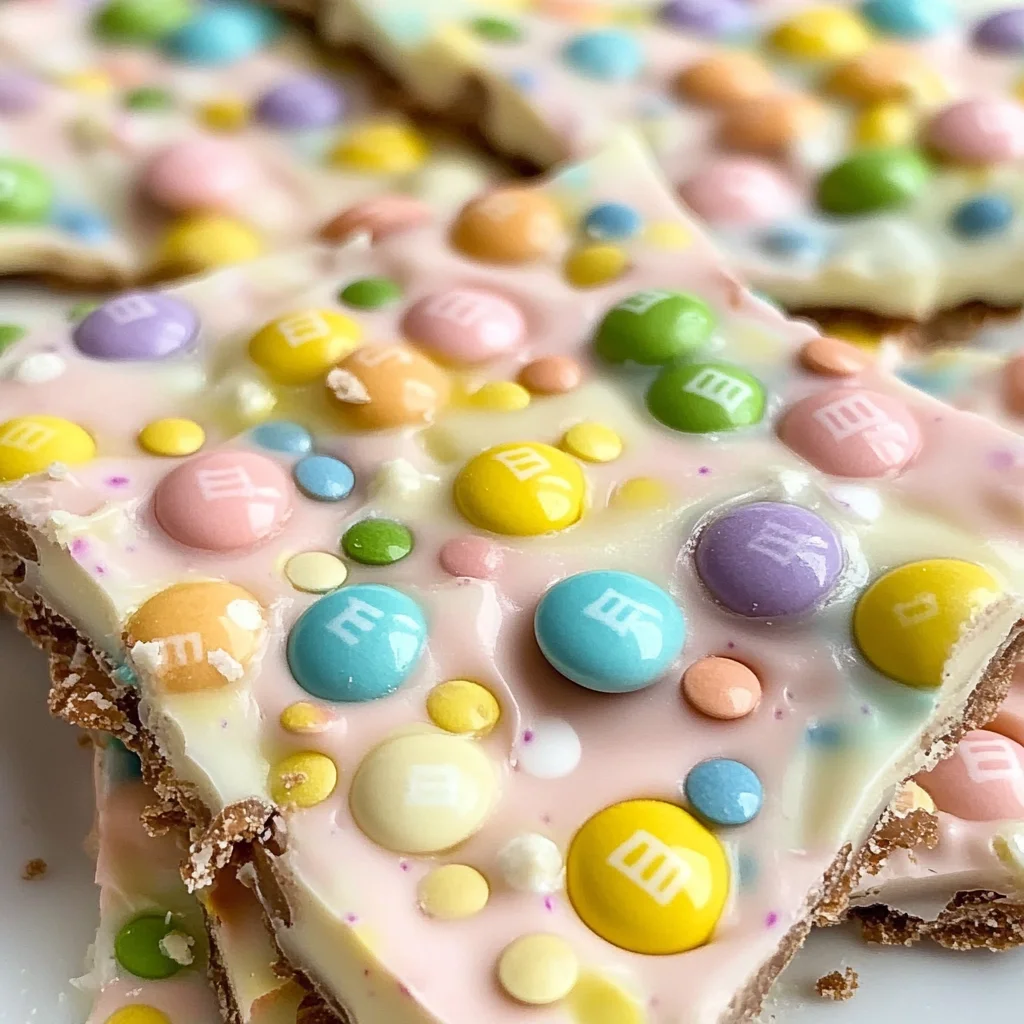
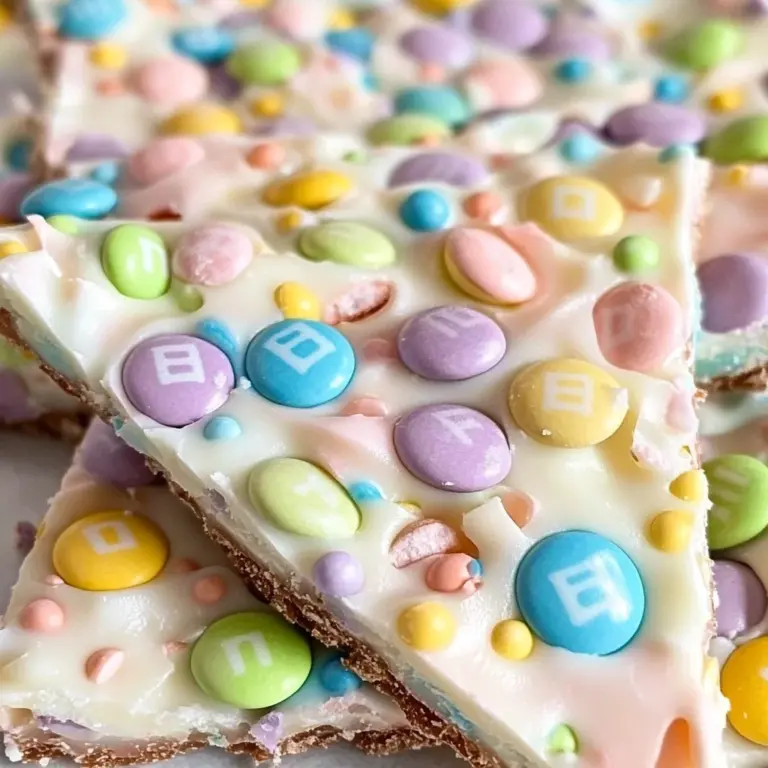
Easter Bunny Bark is the perfect sweet treat for your holiday gatherings! This delightful candy combines vibrant colors and flavors, making it a fun addition to any Easter celebration. With only two ingredients and just a few steps, you can create this charming dessert that will impress both kids and adults alike. It’s not only easy to make but also incredibly versatile for various occasions.
Why You’ll Love This Recipe
- Quick & Easy: With minimal prep time and simple steps, you’ll have this delightful treat ready in no time.
- Fun for Everyone: Kids will love helping out, making this a great family activity during the Easter season.
- Customizable Colors: Feel free to switch up the colors or use different types of candy for unique variations.
- Perfect Gift Idea: Wrap up your Easter Bunny Bark to share with friends or as a festive gift for loved ones.
- Eye-catching Presentation: The bright pastel colors make this candy visually appealing on any dessert table.
Tools and Preparation
To make Easter Bunny Bark, you’ll need some basic tools to help create your delicious treats. These items are essential for achieving the best results.
Essential Tools and Equipment
- Easter bunny silicone pan
- Disposable piping bag
Importance of Each Tool
- Easter bunny silicone pan: This tool helps shape your candy into adorable bunny figures while ensuring easy removal once set.
- Disposable piping bag: Ideal for controlling the flow of melted candy, ensuring each cavity is filled perfectly without mess.
Ingredients
Easter Bunny Bark contains only two ingredients, and takes minutes to make. It is sure to delight your family and friends who gather for your Easter celebration!
For the Candy
- Easter bunny silicone pan
- Disposable piping bag
- 120 pastel colored M&M’s (24 each pink, blue, green, yellow, and purple)
- 2 cups bright white candy melting wafers
How to Make Easter Bunny Bark
Step 1: Melt the Candy Wafers
- Add 1 cup of white candy melting wafers to the disposable piping bag.
- Microwave in 1-minute intervals at 50% power until completely melted.
Step 2: Prepare the Silicone Pan
- Add one of each color pastel colored M&M’s (pink, blue, green, yellow, purple) into each cavity of the bunny silicone pan.
- Don’t worry about orientation; some candies may lay flat while others will be on their sides.
Step 3: Fill the Cavities
- Snip off the tip of the piping bag.
- Pipe the melted bright white candy melts into each cavity just barely covering the M&M’s.
- Tap the pan gently to evenly distribute the candy coating.
Step 4: Let It Set
- Allow the candy bark to harden completely before removing it from the pan.
Step 5: Repeat Process
- Repeat steps 1 through 4 with additional melted bright white candy melts and M&M’s until all ingredients are used.
- Yield: You should have 24 pieces of delicious Easter Bunny Bark ready to enjoy!
How to Serve Easter Bunny Bark
Easter Bunny Bark is a delightful treat that can be enjoyed in various ways during your celebration. Here are some fun serving suggestions to make your Easter gathering even more festive.
Creative Platter Ideas
- Arrange the Easter Bunny Bark pieces on a colorful platter for a vibrant centerpiece.
- Use decorative cupcake liners to separate individual pieces, adding a touch of elegance.
Gift Bags
- Fill clear bags with Easter Bunny Bark and tie with a pastel ribbon for charming party favors.
- Personalize each bag with a tag featuring guests’ names for a special touch.
Dessert Table Display
- Incorporate Easter Bunny Bark into a dessert table filled with other sweet treats like cookies and cupcakes.
- Use themed decorations, such as bunny figurines or spring flowers, to enhance the visual appeal.
Family Game Night Treat
- Serve Easter Bunny Bark during family game night as a sweet reward for winners.
- Pair it with hot cocoa or milk for an extra cozy experience.
How to Perfect Easter Bunny Bark
Creating the perfect Easter Bunny Bark requires attention to detail and some helpful tricks. Follow these tips for the best results.
- Choose high-quality melting wafers: Using premium melting wafers will ensure a smooth texture and better flavor.
- Microwave in intervals: Heat the candy melts in 1-minute intervals, stirring in between to avoid burning.
- Tap the pan gently: After piping the melts, tapping the pan helps remove air bubbles and ensures an even coating.
- Experiment with colors: Feel free to mix different colors of candy melts to create your own unique designs.
- Store properly: Keep your finished bark in an airtight container at room temperature to maintain freshness.
Best Side Dishes for Easter Bunny Bark
Pairing side dishes with your Easter Bunny Bark can elevate your dessert experience. Here are some great options to consider.
- Fresh Fruit Salad: A refreshing mix of seasonal fruits adds a healthy balance alongside sweet treats.
- Carrot Sticks with Hummus: Crunchy carrot sticks paired with creamy hummus make for a nutritious snack option.
- Mini Veggie Platter: Offer assorted vegetables with a light dip for guests who prefer savory bites along with their sweets.
- Cheese Board: A selection of cheeses can complement the sweetness of the bark, providing rich flavors and textures.
- Chocolate-Covered Strawberries: These add an extra chocolatey touch that pairs perfectly with the candy bark.
- Pasta Salad: A light pasta salad can serve as a filling side that balances out all the sweets at your gathering.
Common Mistakes to Avoid
Making Easter Bunny Bark is simple, but a few common mistakes can lead to less-than-perfect results.
- Not using the right melting temperature: Melting candy wafers at too high a power can cause them to seize. Always microwave in 1-minute intervals at 50% power for the best results.
- Overfilling the molds: If you pipe too much candy melt into the molds, it can overflow. Aim for just enough to cover the M&M’s without spilling over.
- Ignoring the hardening time: Allowing the bark to harden completely is crucial for easy removal from the mold. Be patient and let it sit until firm.
- Using stale or damaged M&M’s: Check your M&M’s before using them; old or damaged ones won’t look appealing in your bark. Use fresh candies for vibrant colors and taste.
- Not tapping the pan: Failing to tap your silicone pan gently after pouring the melts can leave air bubbles. This step ensures a smooth finish on your Easter Bunny Bark.
Storage & Reheating Instructions
Refrigerator Storage
- Store in an airtight container to keep it fresh.
- It will stay good for up to 2 weeks in the refrigerator.
Freezing Easter Bunny Bark
- Wrap tightly in plastic wrap or place in a freezer-safe container.
- It can be frozen for up to 3 months without losing quality.
Reheating Easter Bunny Bark
- Oven: Preheat to low heat (around 200°F) and warm for a few minutes if needed.
- Microwave: Heat in short bursts of 10 seconds, monitoring closely to avoid melting.
- Stovetop: Not recommended as direct heat may ruin the texture.
Frequently Asked Questions
Here are some common questions about making Easter Bunny Bark.
What is Easter Bunny Bark?
Easter Bunny Bark is a fun, festive candy made with melted candy wafers and pastel-colored M&M’s, perfect for celebrating Easter.
How long does it take to make Easter Bunny Bark?
The total time required is about 20 minutes, including prep and cook time.
Can I customize my Easter Bunny Bark?
Absolutely! You can use different colored candies or add toppings like sprinkles or nuts to personalize your bark.
How do I ensure my Easter Bunny Bark looks good?
Make sure you use fresh ingredients and follow the melting instructions carefully for a visually appealing result.
Can I use other types of chocolate instead of candy melts?
Yes, you can experiment with different types of melting chocolates as long as they are suitable for melting and setting properly.
Final Thoughts
Easter Bunny Bark is not only easy to make but also a delightful treat that everyone will love. Its vibrant colors and simple ingredients make it perfect for any spring celebration. Feel free to customize it with different candies or toppings for your unique twist!
Easter Bunny Bark
Easter Bunny Bark is an adorable and delicious treat that’s perfect for your spring celebrations. This fun candy combines vibrant pastel colors and sweet flavors, making it a delightful addition to any festive gathering. With just two simple ingredients and minimal preparation time, you can create charming bunny-shaped treats that will impress both kids and adults alike. Whether you’re looking to add a sweet touch to your dessert table or create thoughtful gift bags for friends and family, this recipe is versatile and easy to customize. Get ready to indulge in a colorful candy experience that will brighten up your Easter festivities!
- Total Time: 20 minutes
- Yield: Approximately 24 pieces 1x
Ingredients
- 120 pastel-colored M&M's (24 each: pink, blue, green, yellow, purple)
- 2 cups bright white candy melting wafers
Instructions
- Melt the candy wafers: Place 1 cup of the candy melting wafers into a disposable piping bag. Microwave in 1-minute intervals at 50% power until smooth.
- Prepare the silicone pan: Add one of each pastel-colored M&M into the cavities of the bunny silicone pan.
- Fill the cavities: Snip the tip of the piping bag and pipe melted candy over the M&M's, just covering them. Tap gently to remove air bubbles.
- Let it set: Allow the candy bark to harden completely before removing from the pan.
- Repeat: Use remaining ingredients until all are utilized.
- Prep Time: 10 minutes
- Cook Time: 10 minutes
- Category: Dessert
- Method: No-bake
- Cuisine: American
Nutrition
- Serving Size: 1 piece (approximately 15g)
- Calories: 70
- Sugar: 9g
- Sodium: 10mg
- Fat: 3g
- Saturated Fat: 2g
- Unsaturated Fat: 1g
- Trans Fat: 0g
- Carbohydrates: 12g
- Fiber: 0g
- Protein: <1g
- Cholesterol: 0mg
Keywords: Experiment with different colors of candy melts for unique designs. Store any leftovers in an airtight container at room temperature for freshness.