

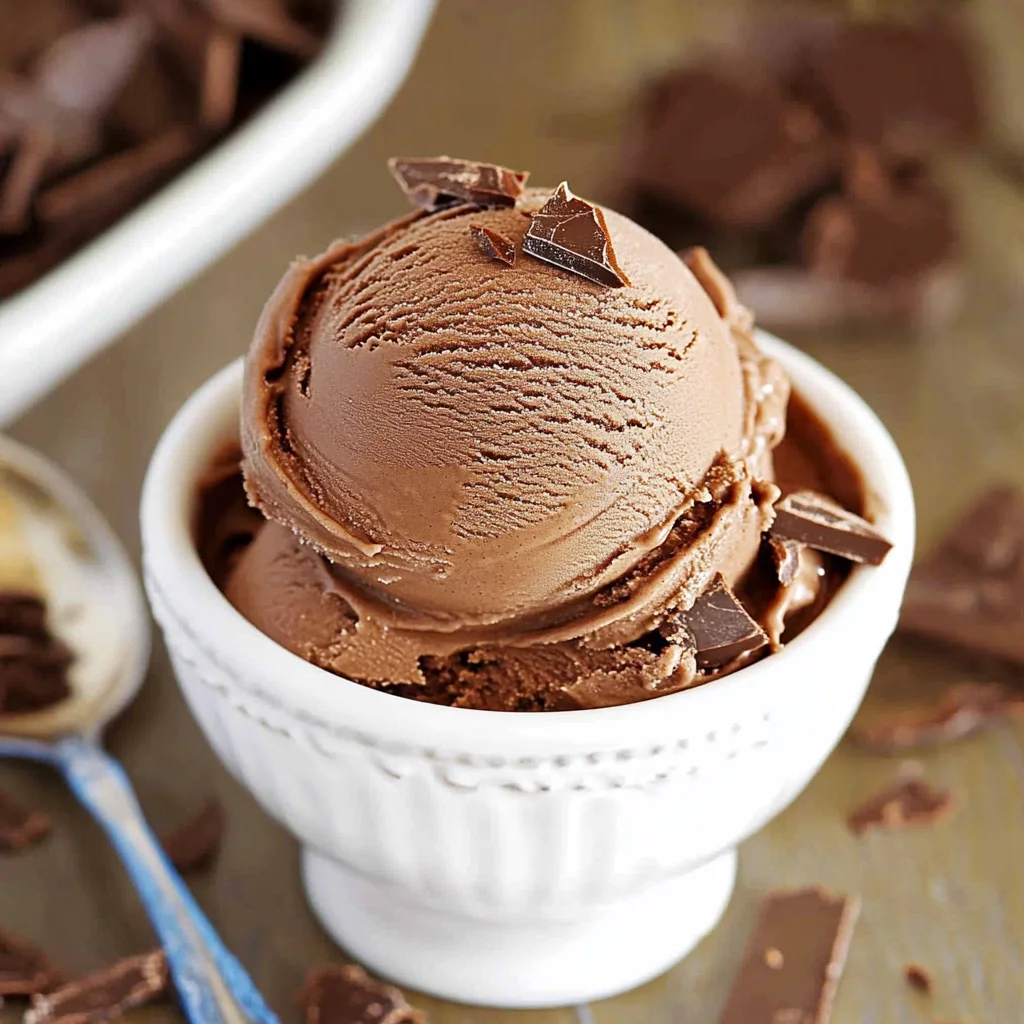
Rich, creamy and ultra chocolatey, this Homemade Chocolate Ice Cream Recipe is the perfect treat for any occasion. Whether you’re hosting a party, enjoying a quiet night in, or celebrating a special moment, this ice cream will impress everyone. With its deep chocolate flavor and smooth texture, it’s just like what you would find at your local creamery, but made right in your own kitchen.
Why You’ll Love This Recipe
- Easy to Make: This recipe is straightforward and doesn’t require any special skills. Perfect for beginners!
- Rich Flavor: The combination of cocoa powder and semi-sweet chocolate creates a decadent taste that chocolate lovers will adore.
- Versatile Serving Options: Serve it alone, with toppings, or as part of a dessert sundae. The possibilities are endless!
- Impress Your Guests: Homemade ice cream always feels special. Surprise friends and family with this delicious treat.
- Customizable: Feel free to add mix-ins like nuts or candies to personalize your ice cream experience.
Tools and Preparation
To make your homemade chocolate ice cream efficiently, having the right tools on hand is essential. Below are the must-have items for success.
Essential Tools and Equipment
- Ice cream maker
- Large saucepan
- Medium bowl
- Whisk
- Fine mesh strainer
- Heatproof spatula
Importance of Each Tool
- Ice cream maker: This tool ensures that your ice cream achieves the perfect creamy consistency through churning while freezing.
- Large saucepan: A spacious pan allows you to combine ingredients without spilling, making the process smoother.
- Fine mesh strainer: This tool is essential for removing any lumps from the custard, ensuring a silky texture.
Ingredients
Here’s what you need for this delightful Homemade Chocolate Ice Cream Recipe:
For the Base
- 2 cups whole milk
- 2 cups heavy cream
- 1 cup unsweetened cocoa powder (I always use Hershey’s)
- 2 ounces finely chopped semi-sweet chocolate
- 1 teaspoon vanilla extract
- 1 cup granulated sugar
- 5 large egg yolks
For Garnish
- 2 tablespoons fresh parsley, finely chopped
How to Make Homemade Chocolate Ice Cream Recipe
Step 1: Prepare the Chocolate Mixture
In a large saucepan, whisk together the milk, heavy cream, and cocoa powder. Bring this mixture to a simmer over medium-low heat. Once simmering, turn off the heat and stir in the chopped semi-sweet chocolate along with vanilla extract until fully melted.
Step 2: Dissolve the Sugar
Add 3/4 cup of granulated sugar to the milk mixture. Return it to medium heat and bring it back to a simmer while whisking occasionally to ensure that all sugar dissolves completely.
Step 3: Mix Egg Yolks
In a medium bowl, whisk together the remaining granulated sugar with egg yolks until slightly thickened and light in color. Gradually add 1/4 cup of the warm milk mixture into the egg mixture while whisking constantly. Continue incorporating more milk mixture in small increments until fully combined.
Step 4: Strain Custard Mixture
Prepare an ice bath in a large bowl by filling it with ice water. Place another medium bowl inside this ice bath and set up a fine mesh strainer over it.
Step 5: Cook Custard
Transfer the combined cream mixture back into a large saucepan. Cook over medium heat while stirring constantly until it thickens enough to coat the back of a spoon. Once thickened, strain this custard into the bowl set in an ice bath and allow it to cool down.
Step 6: Chill Overnight
Refrigerate your custard mixture until cold or overnight if time permits. This step ensures optimal texture when churning.
Step 7: Churn Ice Cream
Pour chilled custard into your electric ice cream maker’s freezer canister. Freeze according to the manufacturer’s instructions until it reaches soft-serve consistency. Finally, transfer your homemade chocolate ice cream into an airtight storage container and freeze until firm.
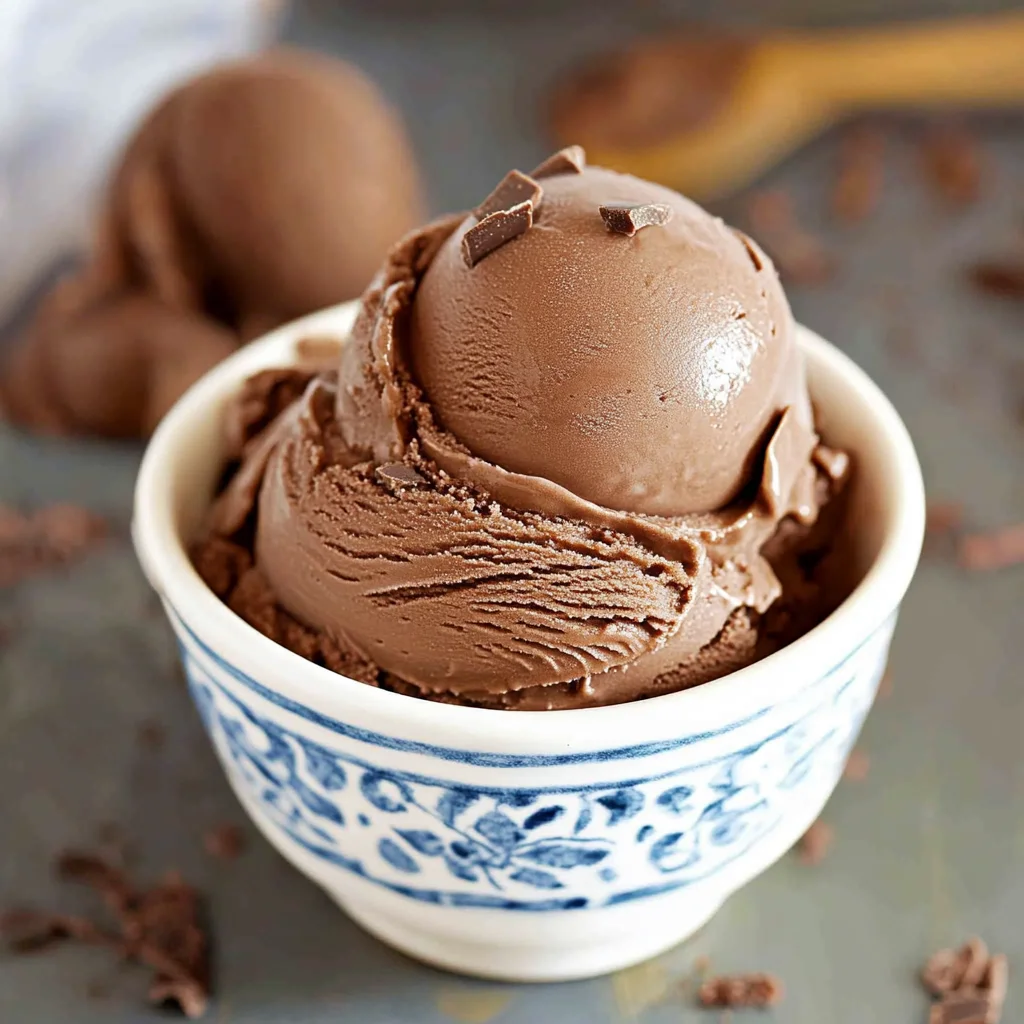
Enjoy your rich and creamy homemade chocolate delight!
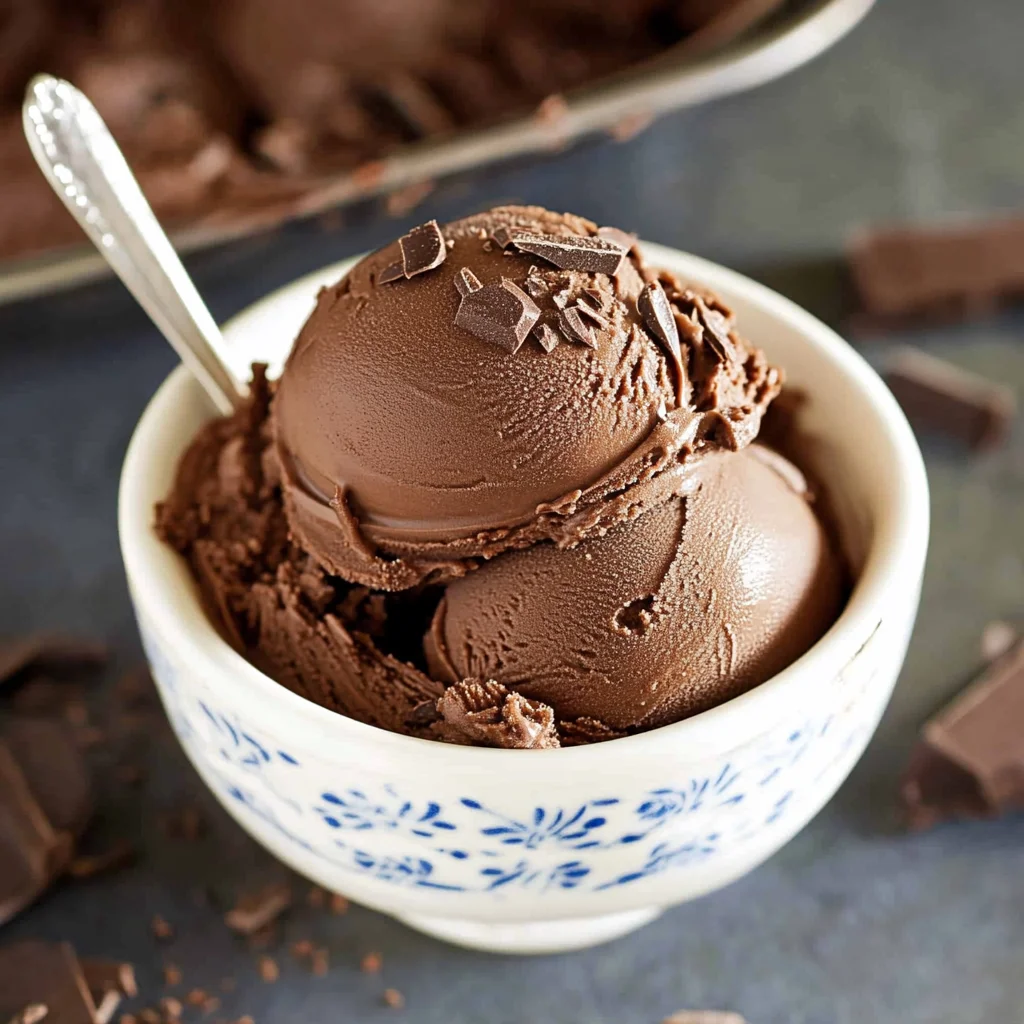
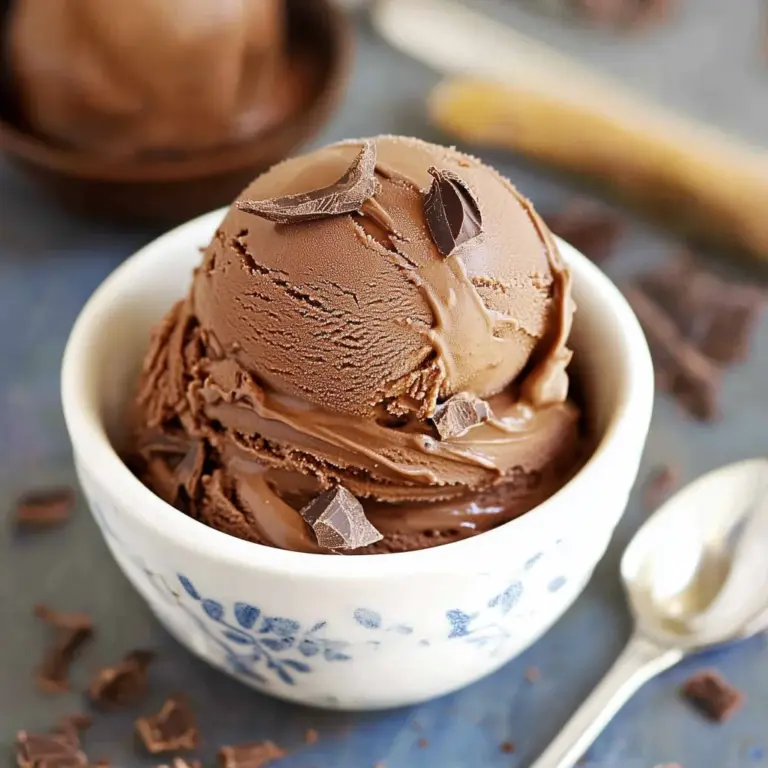
How to Serve Homemade Chocolate Ice Cream Recipe
Serving your Homemade Chocolate Ice Cream can elevate your dessert experience. Whether it’s a simple scoop in a bowl or a fancy sundae, there are many delightful ways to enjoy this rich treat.
Classic Scoop
- Serve a generous scoop in a chilled bowl for an elegant yet simple dessert.
Sundae Delight
- Top with whipped cream, chopped nuts, and a cherry for the ultimate sundae experience.
Ice Cream Sandwiches
- Use two cookies to create delicious ice cream sandwiches that are perfect for summer parties.
Milkshake Magic
- Blend the ice cream with milk for a thick and creamy milkshake. Add chocolate syrup for extra flavor.
Waffle Cone Treats
- Serve in waffle cones for a fun and easy way to enjoy your ice cream on the go.
Chocolate Drizzle
- Drizzle warm chocolate sauce over your ice cream for an indulgent touch that enhances the chocolate flavor.
How to Perfect Homemade Chocolate Ice Cream Recipe
To achieve the best results with your Homemade Chocolate Ice Cream, consider these helpful tips:
- Use Quality Ingredients: Opt for high-quality cocoa powder and chocolate to enhance flavor.
- Chill Your Mixture: Make sure your custard is thoroughly chilled before churning; this helps achieve a creamy texture.
- Don’t Rush Freezing: Allow the ice cream to freeze thoroughly after churning. Patience pays off!
- Avoid Overchurning: Stop churning once you reach soft-serve consistency to prevent icy texture.
- Store Properly: Use an airtight container to store your ice cream and minimize freezer burn.
- Experiment with Flavors: Feel free to add mix-ins like chocolate chips or nuts during the last few minutes of churning for added texture.
Best Side Dishes for Homemade Chocolate Ice Cream Recipe
Pairing side dishes with your Homemade Chocolate Ice Cream can create a delightful dessert spread. Here are some great options:
- Fresh Fruit Salad
A mix of seasonal fruits adds freshness and balances the richness of the ice cream. - Chocolate Chip Cookies
Warm cookies provide a cozy contrast and make perfect companions for scoops of chocolate ice cream. - Brownies
Rich, fudgy brownies complement the ice cream’s texture and enhance its chocolatey goodness. - Pecan Pie
The sweetness of pecan pie offers a delightful contrast to the smooth ice cream. - Banana Split Fixings
Create a banana split station with bananas, nuts, whipped cream, and cherries for customization fun. - Chocolate Cake Slices
Layered chocolate cake can take your dessert experience to another level of indulgence. - Mini Cheesecakes
Their creamy texture pairs well with the dense richness of homemade chocolate ice cream. - Coconut Macaroons
These chewy delights add a tropical twist that beautifully contrasts with the deep flavors of chocolate.
Common Mistakes to Avoid
Making homemade chocolate ice cream can be a delightful experience, but it’s easy to make mistakes that could affect the final product.
- Skipping the egg tempering step: This is crucial for creating a smooth custard. Always temper the eggs with a bit of warm milk before combining them to prevent scrambling.
- Not using quality ingredients: The flavor of your homemade chocolate ice cream depends on the quality of your cocoa powder and chocolate. Always choose high-quality brands for the best taste.
- Ignoring chilling time: Allowing the custard to chill completely ensures a smoother texture. Don’t rush this step; refrigerate it overnight if you can.
- Overfilling the ice cream maker: An overcrowded machine won’t churn properly. Fill it only to the recommended level for optimal freezing and texture.
- Neglecting to strain the custard: Straining removes any lumps or bits of cooked egg, providing a silky finish. Don’t skip this step for that perfect consistency.
Storage & Reheating Instructions
Refrigerator Storage
- Store in an airtight container to prevent freezer burn.
- Homemade chocolate ice cream can be kept in the refrigerator for up to 3 days, but it’s best enjoyed immediately after churning.
Freezing Homemade Chocolate Ice Cream Recipe
- Transfer ice cream to a freezer-safe container with a tight lid.
- It can last up to 2 months in the freezer, maintaining its flavor and texture.
Reheating Homemade Chocolate Ice Cream Recipe
- Oven: Preheat your oven to 350°F (175°C) and place the container inside for about 5-10 minutes. This method is not typically used but can help soften ice cream quickly.
- Microwave: Heat in 10-15 second intervals, stirring between each until desired softness is reached. Be careful not to melt it!
- Stovetop: Place a small amount in a saucepan over low heat, stirring gently until softened. This is effective but requires attention to avoid melting completely.
Frequently Asked Questions
What is the best cocoa powder for my homemade chocolate ice cream recipe?
Using high-quality cocoa powder like Hershey’s will provide rich chocolate flavor. Avoid generic brands as they might lack depth in taste.
Can I use an alternative sweetener in my homemade chocolate ice cream recipe?
Yes, you can substitute granulated sugar with alternatives like agave syrup or stevia, but be aware that it may alter the texture slightly.
How do I make homemade chocolate ice cream without an ice cream maker?
You can use a simple method by mixing all ingredients and placing them in a shallow dish in the freezer, stirring every 30 minutes until firm.
How long does homemade chocolate ice cream last?
When stored properly, it lasts up to two months in the freezer. But for best results and taste, consume within one month.
Can I customize my homemade chocolate ice cream recipe?
Absolutely! You can add mix-ins like nuts, cookie pieces, or fruit before freezing. Experiment with flavors like mint or coffee for exciting variations.
Final Thoughts
This homemade chocolate ice cream recipe offers rich flavor and creamy texture that rivals any store-bought version. It’s versatile enough for customization, allowing you to experiment with various add-ins or flavors. Give it a try and enjoy a delightful treat that’s sure to please!
Homemade Chocolate Ice Cream
Indulge in the rich, creamy delight of homemade chocolate ice cream that rivals your favorite ice cream shop. This delectable treat boasts an intense chocolate flavor and a velvety texture, perfect for any occasion—from casual evenings to celebrations. With straightforward steps and easily accessible ingredients, even beginners can whip up this dessert with ease. Customize it with your favorite mix-ins or toppings to elevate your experience. Each scoop promises to impress friends and family alike, making it a must-try recipe for chocolate lovers.
- Total Time: 50 minutes
- Yield: Approximately 8 servings 1x
Ingredients
- 2 cups whole milk
- 2 cups heavy cream
- 1 cup unsweetened cocoa powder (Hershey's recommended)
- 2 ounces finely chopped semi-sweet chocolate
- 1 teaspoon vanilla extract
- 1 cup granulated sugar
- 5 large egg yolks
Instructions
- In a large saucepan, whisk together whole milk, heavy cream, and cocoa powder; bring to a simmer over medium-low heat.
- Turn off the heat, add chopped semi-sweet chocolate and vanilla extract; stir until melted.
- Stir in 3/4 cup sugar and return to medium heat until dissolved.
- In a medium bowl, whisk remaining sugar with egg yolks until light; gradually mix in warm milk mixture.
- Cook combined mixture on medium heat until thick enough to coat the back of a spoon; strain into an ice bath to cool.
- Refrigerate custard until cold, ideally overnight.
- Pour chilled custard into an ice cream maker; churn according to manufacturer instructions until soft-serve consistency.
- Transfer to an airtight container and freeze until firm.
- Prep Time: 30 minutes
- Cook Time: 20 minutes
- Category: Dessert
- Method: Churning
- Cuisine: American
Nutrition
- Serving Size: 1 serving
- Calories: 365
- Sugar: 27g
- Sodium: 52mg
- Fat: 24g
- Saturated Fat: 14g
- Unsaturated Fat: 9g
- Trans Fat: 0g
- Carbohydrates: 36g
- Fiber: 3g
- Protein: 6g
- Cholesterol: 154mg
Keywords: For added texture, mix in nuts or candies during the last minutes of churning. Use high-quality ingredients for the best flavor.