

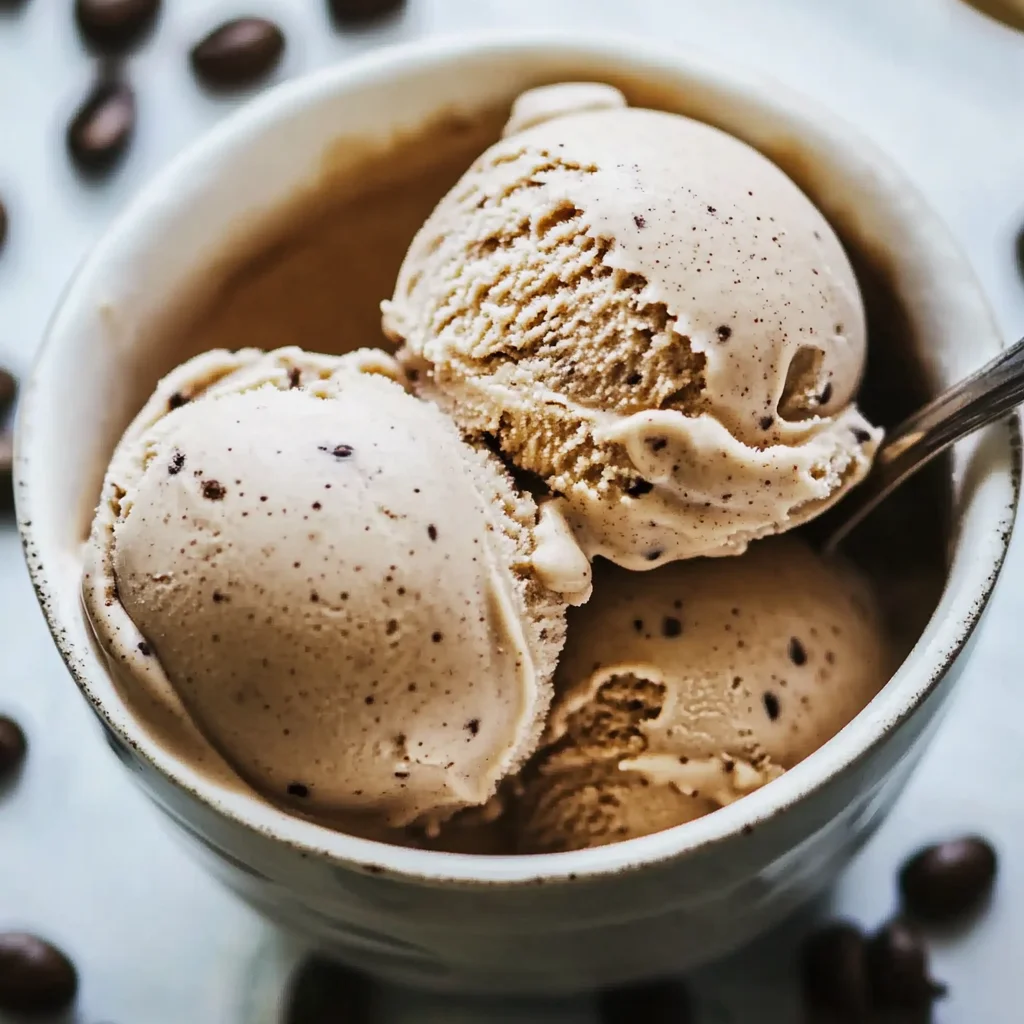
This Homemade Coffee Ice Cream is a delightful treat that every coffee lover will adore. Its rich and creamy texture, combined with the bold flavor of real coffee, makes it perfect for any occasion. Whether you’re hosting a summer barbecue or enjoying a quiet evening at home, this ice cream fits right in. Plus, with both churn and no-churn methods available, you can easily whip up this dessert without needing specialized equipment.
Why You’ll Love This Recipe
- Rich flavor: The combination of heavy cream and coffee grounds delivers a deep, satisfying taste.
- No special equipment needed: Enjoy a no-churn method if you don’t own an ice cream maker.
- Customizable: Add chocolate chips or other mix-ins to cater to your taste preferences.
- Easy to make: With simple steps and minimal ingredients, this recipe is beginner-friendly.
- Perfect for sharing: Serve it at gatherings or as a refreshing treat on warm days.
Tools and Preparation
Before starting your homemade coffee ice cream, gather the necessary tools to ensure a smooth process.
Essential Tools and Equipment
- Ice cream maker (if using the churn method)
- Medium saucepan
- Fine-mesh sieve
- Mixing bowl
- Airtight container
Importance of Each Tool
- Ice cream maker: Helps achieve a creamy texture by churning air into the mixture as it freezes.
- Fine-mesh sieve: Ensures that coffee grounds are removed for a smooth final product.
- Airtight container: Keeps your ice cream fresh in the freezer without forming ice crystals.
Ingredients
This homemade coffee ice cream is rich, creamy, and packed with bold coffee flavor. Made with real coffee, it’s the perfect frozen treat for coffee lovers! No ice cream maker? No problem—there’s a no-churn method included.
For the Ice Cream Base
- 2 cups Heavy cream (Provides creaminess)
- 1 cup Whole milk (Adds smooth texture)
- ¾ cup Granulated sugar (Sweetens the base)
- ¼ cup Brown sugar (Deepens flavor)
- 4 tbsp Coffee grounds (Medium-coarse grind for best infusion)
- 1 tbsp Instant espresso powder (Enhances coffee flavor)
- ½ tsp Salt (Balances flavors)
- 1 tbsp Vanilla extract (Adds depth)
Optional Add-Ins
- ½ cup Chocolate chips (Optional, for extra texture)
How to Make Homemade Coffee Ice Cream
Step 1: Heat the Dairy Mixture
In a medium saucepan over medium heat, combine heavy cream, whole milk, and coffee grounds. Heat until simmering. Remove from heat and let steep for 45 minutes to allow flavors to develop.
Step 2: Strain the Mixture
Using a fine-mesh sieve, strain the mixture into a mixing bowl. Press down on the coffee grounds to extract maximum flavor while discarding them afterward.
Step 3: Dissolve Sugars and Salt
Return the liquid to the saucepan. Add granulated sugar, brown sugar, and salt. Stir over low heat until dissolved completely. Mix in instant espresso powder.
Step 4: Chill the Base
Stir in vanilla extract. Transfer the mixture to a bowl, cover with plastic wrap, and refrigerate for at least 4 hours until thoroughly chilled.
Step 5: Churn in Ice Cream Maker
Once chilled, pour the mixture into an ice cream maker. Churn according to manufacturer instructions until it reaches soft-serve consistency.
Step 6: Freeze Before Serving
Transfer the churned ice cream to an airtight container. Cover with parchment paper before sealing tightly. Freeze for at least 4 hours before serving for best texture.
Now you’re ready to enjoy your delicious homemade coffee ice cream!
How to Serve Homemade Coffee Ice Cream
Serving your homemade coffee ice cream can elevate the experience for you and your guests. Here are some delightful ways to enjoy this rich treat.
With Toppings
- Chocolate Syrup: Drizzle rich chocolate syrup for a sweet contrast.
- Whipped Cream: Add a dollop of whipped cream for extra creaminess.
- Chopped Nuts: Sprinkle chopped almonds or hazelnuts for a crunchy texture.
In Desserts
- Coffee Ice Cream Sundae: Layer with fudge sauce and nuts for a decadent sundae.
- Affogato: Pour a shot of hot espresso over a scoop of coffee ice cream for an Italian classic.
- Ice Cream Sandwiches: Use cookies to create delicious ice cream sandwiches.
As a Beverage
- Coffee Float: Combine coffee ice cream with cold brew coffee for a refreshing drink.
- Milkshake: Blend with milk and more coffee ice cream for a creamy milkshake.
How to Perfect Homemade Coffee Ice Cream
Perfecting your homemade coffee ice cream can make all the difference in flavor and texture. Here are some tips to ensure success.
- Use Fresh Ingredients: Always use fresh heavy cream, whole milk, and high-quality coffee grounds for the best taste.
- Chill Thoroughly: Ensure the mixture is well chilled before churning; this helps achieve a smoother texture.
- Don’t Over-Churn: Stop churning once you reach soft-serve consistency to prevent icy ice cream.
- Store Properly: Place parchment paper on top before sealing to minimize ice crystals forming in the container.
Best Side Dishes for Homemade Coffee Ice Cream
Pairing side dishes with your homemade coffee ice cream can enhance its flavors. Here are some great ideas.
- Chocolate Chip Cookies: Classic cookies complement the rich flavor of coffee ice cream beautifully.
- Brownies: Warm, fudgy brownies pair perfectly when served alongside cold ice cream.
- Pecan Pie: The nutty sweetness of pecan pie makes it an excellent companion to coffee flavors.
- Fruit Salad: A light fruit salad balances out the richness of the ice cream with freshness.
- Cinnamon Rolls: Warm cinnamon rolls create a delightful contrast against cold coffee ice cream.
- Shortbread Cookies: Buttery shortbread adds a crunchy yet tender element that pairs wonderfully.
Common Mistakes to Avoid
Making homemade coffee ice cream can be simple, but there are a few common pitfalls that can affect your results. Here are some mistakes to avoid.
- Skipping the steeping time: Not allowing the coffee grounds to steep long enough can lead to a weak flavor. Make sure to let the mixture sit for at least 45 minutes to extract all the best flavors.
- Using low-quality coffee: Poor-quality coffee can result in a bland ice cream. Choose a good quality medium-coarse grind for the best infusion and flavor.
- Overchurning the mixture: Churning it for too long can lead to icy or grainy textures. Monitor the consistency carefully and stop once it reaches soft-serve texture.
- Not chilling the base: Skipping refrigeration before churning can affect texture and firmness. Always refrigerate the mixture for at least 4 hours before using it in an ice cream maker.
- Neglecting flavor balance: Forgetting to add salt or vanilla extract can make your ice cream taste flat. These ingredients enhance the overall flavor, so don’t skip them!
Storage & Reheating Instructions
Refrigerator Storage
- Store in an airtight container for up to 2 days if you need to keep it soft for serving.
- Use glass or plastic containers with tight-fitting lids to keep it fresh.
Freezing Homemade Coffee Ice Cream
- Freeze in an airtight container for up to 2 weeks for optimal freshness.
- Cover with parchment paper before sealing to prevent ice crystals from forming.
Reheating Homemade Coffee Ice Cream
- Oven: Preheat to 350°F (175°C), place ice cream in an oven-safe dish, and warm briefly (about 5 minutes) until slightly softened.
- Microwave: Heat on low power in short bursts (15 seconds) until desired softness is reached. Be cautious not to melt it completely.
- Stovetop: Place a small amount of ice cream in a pan over low heat, stirring gently until softened.
Frequently Asked Questions
How do I make Homemade Coffee Ice Cream without a machine?
You can still enjoy this delicious treat! Pour your chilled mixture into a shallow dish and freeze. Stir every 30 minutes for about 2-3 hours until creamy.
Can I use decaf coffee for Homemade Coffee Ice Cream?
Absolutely! Decaf coffee works well if you prefer less caffeine but still want that rich coffee flavor.
What other flavors pair well with Homemade Coffee Ice Cream?
Consider adding flavors like chocolate, hazelnut, or caramel for delightful combinations that enhance your coffee experience!
How long does Homemade Coffee Ice Cream last?
When stored properly in a freezer-safe container, it can last up to 2 weeks while maintaining its best texture and flavor.
Final Thoughts
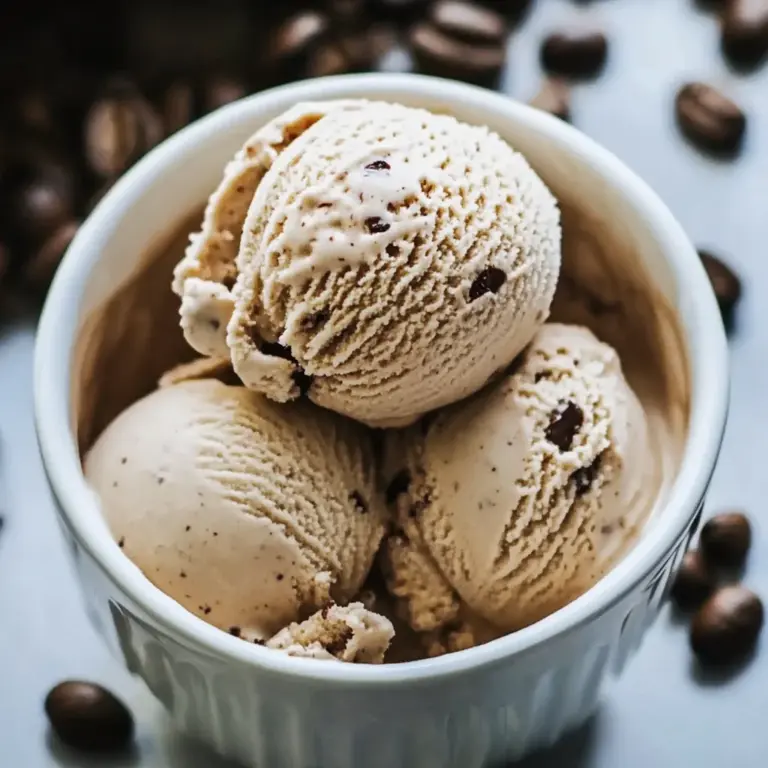
This homemade coffee ice cream is not just delicious; it’s also incredibly versatile! You can customize it by adding mix-ins like chocolate chips or nuts. Whether enjoyed on its own or as part of a dessert sundae, this recipe is sure to please any coffee lover. Give it a try today!
Homemade Coffee Ice Cream
Indulge in the ultimate summer treat with this Homemade Coffee Ice Cream, crafted for true coffee enthusiasts. This creamy delight combines rich heavy cream and aromatic coffee for a decadent dessert experience. Whether you’re hosting a lively gathering or savoring a quiet evening, this ice cream is sure to impress. With both churn and no-churn methods available, anyone can whip up this delightful dessert without needing special equipment. Customize your creation with chocolate chips or nuts to make it uniquely yours. Enjoy the refreshing taste of homemade coffee ice cream today!
- Total Time: 25 minutes
- Yield: About 6 servings 1x
Ingredients
- 2 cups Heavy cream
- 1 cup Whole milk
- ¾ cup Granulated sugar
- ¼ cup Brown sugar
- 4 tbsp Coffee grounds (medium-coarse)
- 1 tbsp Instant espresso powder
- ½ tsp Salt
- 1 tbsp Vanilla extract
- Optional: ½ cup Chocolate chips
Instructions
- Heat dairy mixture: In a medium saucepan, combine heavy cream, whole milk, and coffee grounds. Simmer and steep for 45 minutes.
- Strain: Use a fine-mesh sieve to strain the mixture into a bowl, pressing on the grounds to extract flavor.
- Dissolve sugars: Return liquid to the saucepan, adding granulated sugar, brown sugar, and salt. Stir until dissolved, then mix in instant espresso powder.
- Chill: Stir in vanilla extract, cover with plastic wrap, and refrigerate for at least 4 hours.
- Churn: Pour chilled mixture into an ice cream maker and churn according to instructions until soft-serve consistency.
- Freeze: Transfer to an airtight container, cover with parchment paper, seal tightly, and freeze for at least 4 hours.
- Prep Time: 15 minutes
- Cook Time: 10 minutes
- Category: Dessert
- Method: Churning
- Cuisine: American
Nutrition
- Serving Size: 1/2 cup (120g)
- Calories: 290
- Sugar: 25g
- Sodium: 80mg
- Fat: 22g
- Saturated Fat: 14g
- Unsaturated Fat: 8g
- Trans Fat: 0g
- Carbohydrates: 24g
- Fiber: <1g
- Protein: 3g
- Cholesterol: 85mg
Keywords: For a no-churn option: Pour the mixture into a shallow dish and stir every 30 minutes for about 2-3 hours until creamy. Customize with mix-ins like chocolate chips or nuts for added texture.