
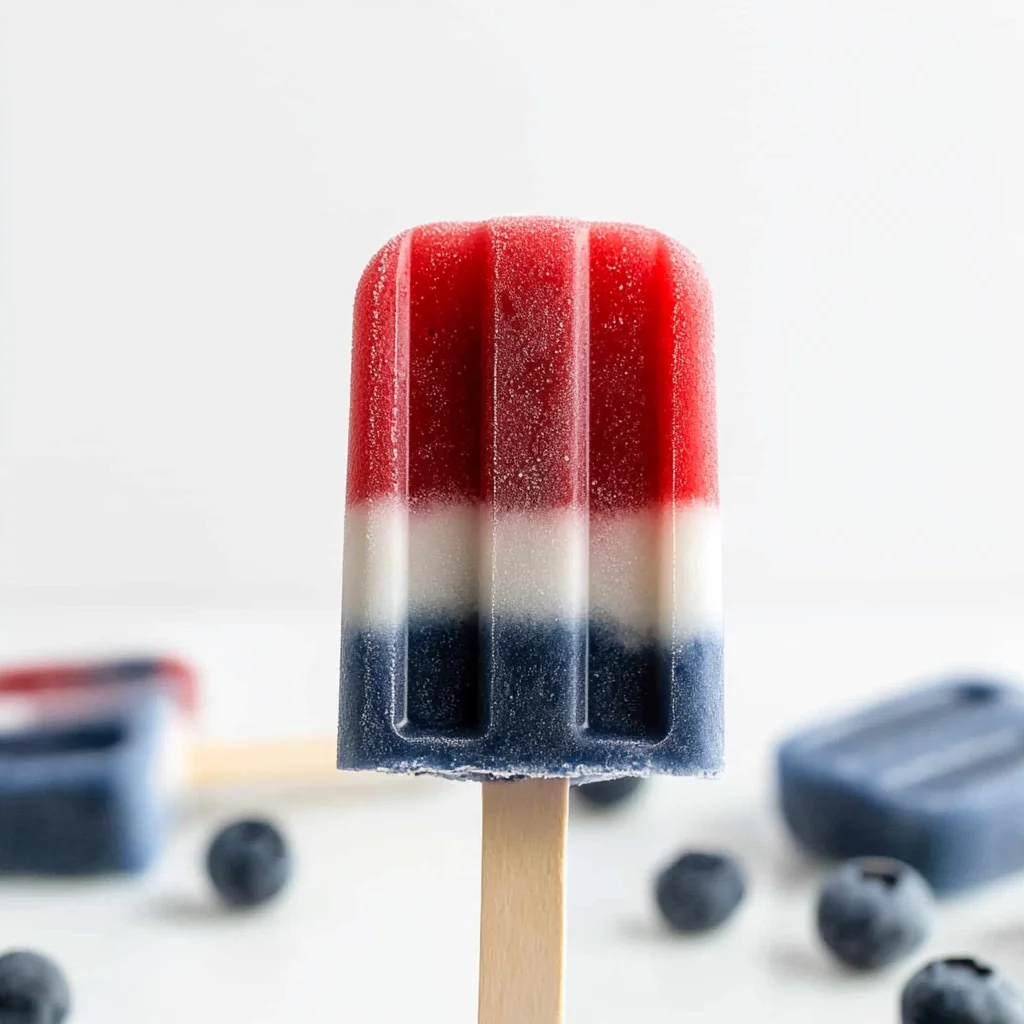
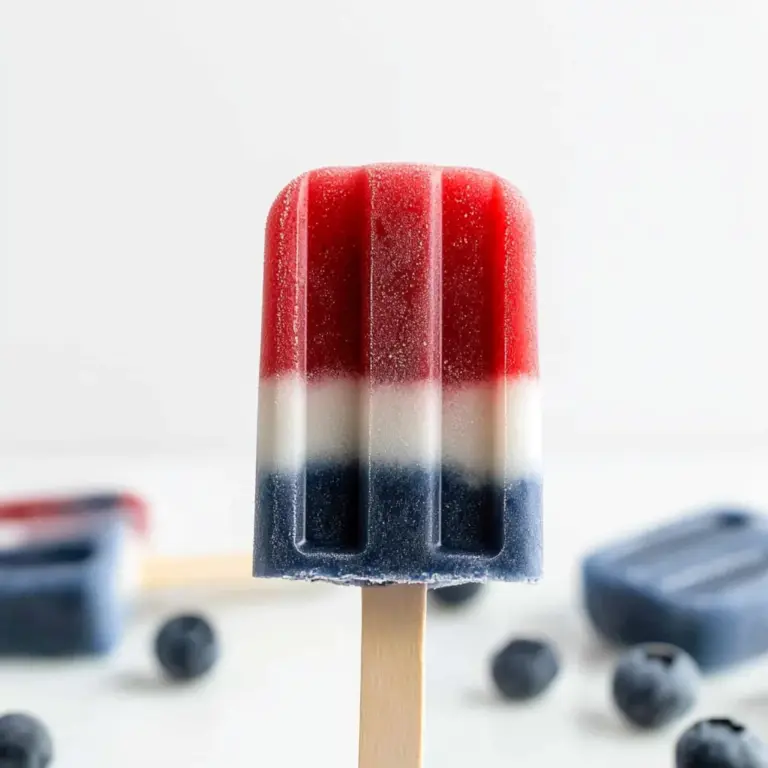
These Red, White and Blue Popsicles are a delightful and refreshing treat perfect for any patriotic celebration! Made with vibrant fruits and creamy coconut milk, these popsicles not only look stunning but also taste amazing. Whether you’re celebrating Independence Day, Memorial Day, or just enjoying a hot summer day, these popsicles will wow your guests and keep everyone cool.
Why You’ll Love This Recipe
- Easy to Make: With just a few simple steps, you can whip up these delicious popsicles in no time.
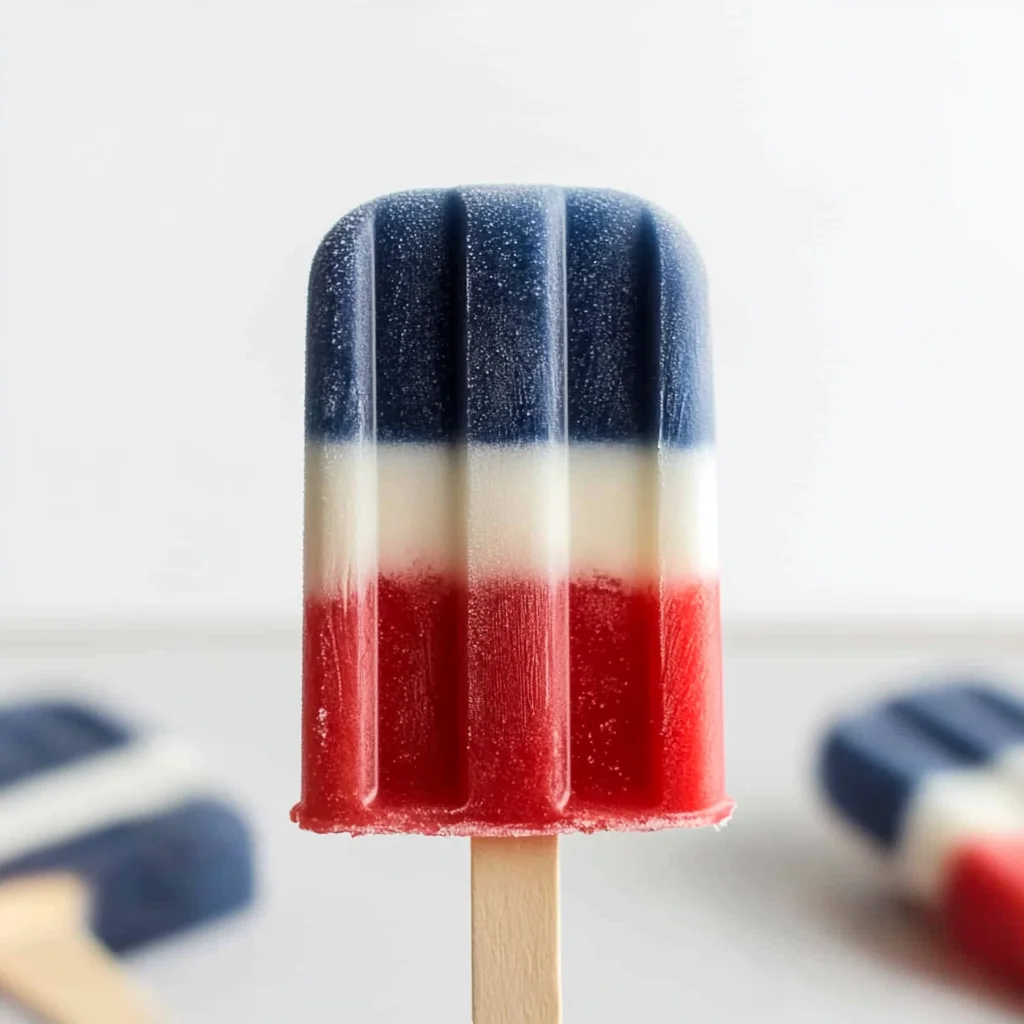
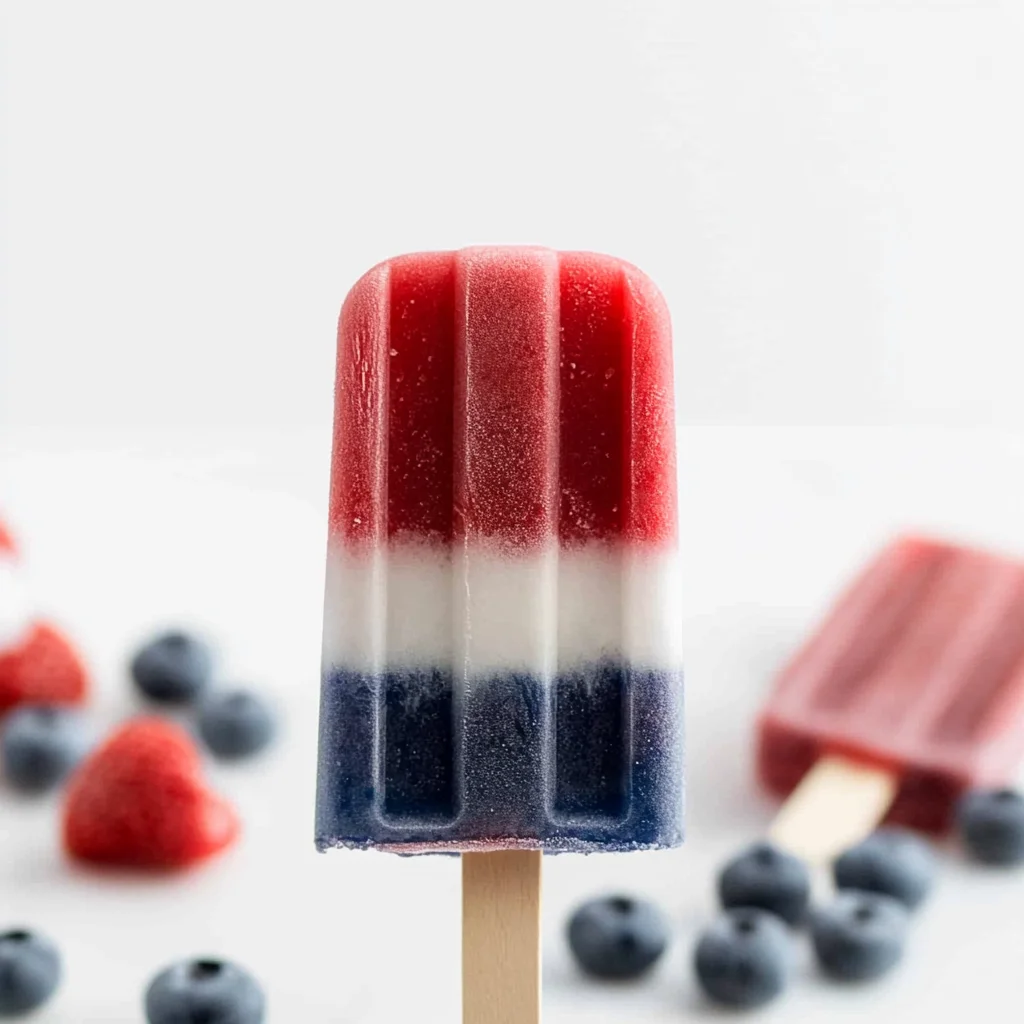
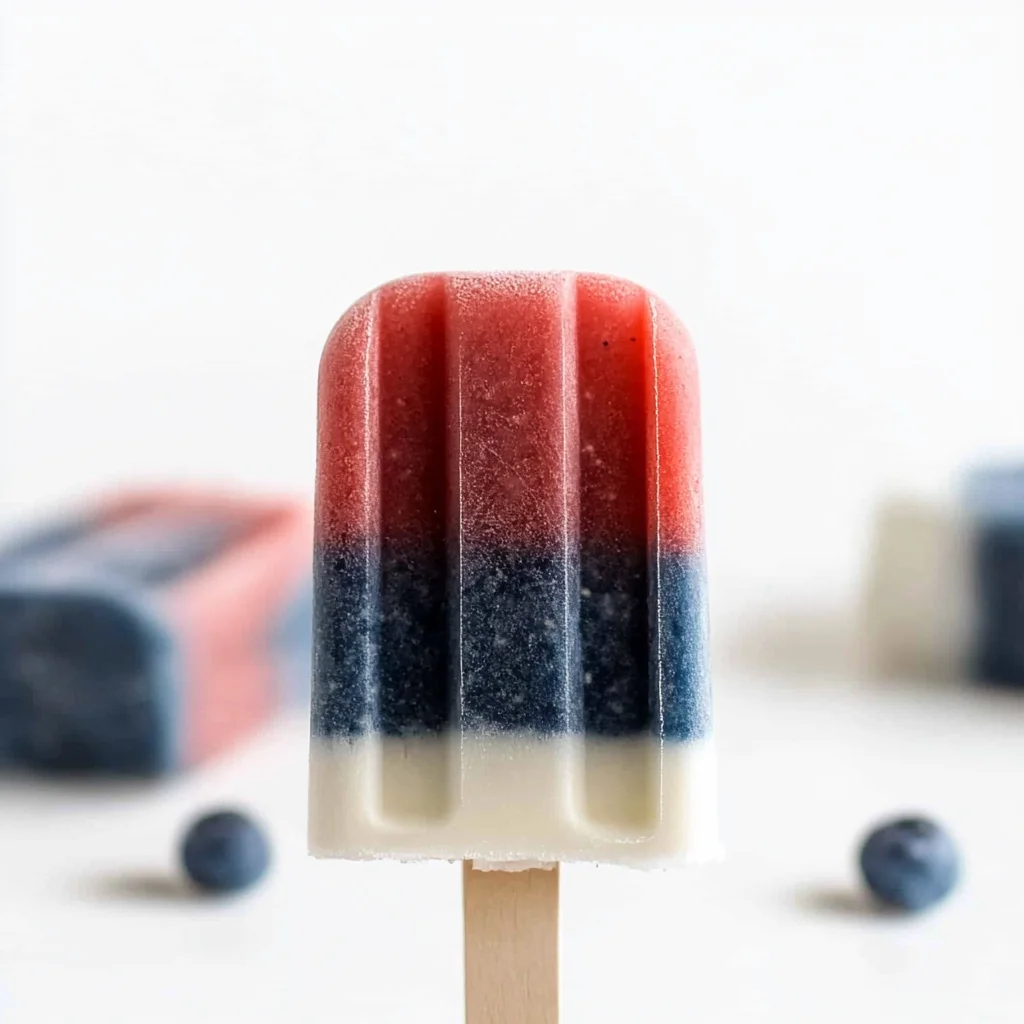
- Colorful Presentation: The vibrant layers of red, white, and blue make them visually appealing for any occasion.
- Healthy Ingredients: Using fresh fruits and coconut milk, these popsicles are a healthier alternative to store-bought treats.
- Customizable Flavors: Feel free to experiment with different fruits or sweeteners to suit your taste preferences.
- Perfect for All Ages: Kids and adults alike will enjoy the fun flavors and textures of these homemade frozen treats.
Tools and Preparation
Before diving into the recipe, gather the necessary tools. Having everything ready will make the process smooth.
Essential Tools and Equipment
- Blender
- Popsicle molds
- Measuring cups
- Large measuring cup (for pouring)
- Freezer
Importance of Each Tool
- Blender: A powerful blender ensures smooth mixtures for each layer of the popsicle.
- Popsicle molds: These molds shape your popsicles perfectly, making them easy to remove once frozen.
- Measuring cups: Accurate measurements help achieve the right balance of flavors in your popsicles.
Ingredients
These red, white and blue popsicles are perfect for all your patriotic celebrations.
- 13.5 ounces coconut milk (1 can)
- 1 teaspoon pure vanilla extract
- 2 tablespoons sweetener (honey, agave nectar, maple syrup)
- 1/3 cup fresh strawberries, hulled and halved
- a few drops of red food coloring (optional)
- 1/3 cup fresh blueberries
- a few drops blue food coloring (optional)
For Garnish
- 2 tablespoons fresh parsley, finely chopped
How to Make Red, White and Blue Popsicles
Step 1: Prepare the White Layer
In the bowl of a blender, combine all the white layer ingredients. Pulse until combined.
Step 2: Divide the Mixture
Divide the mixture into three equal parts that will serve as the base for each layer. Chill one part until needed. Set the other two aside.
Step 3: Make the Red Layer
To make the red layer:
1. Combine one of the three parts with the strawberries in the blender.
2. Blend until smooth.
3. Add a few drops of red food coloring if desired.
4. Transfer to a large measuring cup and chill until needed.
Step 4: Create the Blue Layer
Rinse out the blender. To make the blue layer:
1. Combine another one of the three parts with blueberries in the blender.
2. Blend until combined.
3. Add in a few drops of royal blue food coloring if using.
4. Transfer to a large measuring cup and chill until needed.
Step 5: Fill Molds with Red Layer
Pour the red mixture into your popsicle molds to form the first layer. Fill each mold about one-third full. Freeze for at least 45–60 minutes.
Step 6: Add the White Layer
Once solidified:
1. Pour the reserved white mixture over the red layer.
2. Ensure that it remains solid; if not fully frozen yet, continue freezing before proceeding.
3. Fill molds another one-third full with this white layer and freeze for at least 45–60 minutes more.
Step 7: Insert Popsicle Sticks
For the final blue layer:
1. Pour in your chilled blue mixture on top after waiting about 20 minutes so it doesn’t sink through.
2. Insert popsicle sticks into each mold once partially frozen.
Step 8: Final Freeze
Freeze until completely solid, which may take several hours or overnight.
Step 9: Unmold Your Popsicles
To unmold your delicious creations:
1. Run warm water over each mold for about 30 seconds.
2. Carefully release from molds to enjoy!
Now you’re ready to savor these delightful Red, White and Blue Popsicles, perfect for any festive gathering!
How to Serve Red, White and Blue Popsicles
These vibrant red, white, and blue popsicles are not just a treat; they are a festive way to celebrate any patriotic occasion. Here are some fun serving suggestions to make your popsicles even more special!
At a Summer BBQ
- Serve these popsicles as a refreshing dessert option during summer barbecues. They add color and excitement to the dessert table.
With Fresh Fruit
- Pair your popsicles with a side of fresh fruit like sliced strawberries or blueberries for an extra burst of flavor and nutrition.
On a Patriotic Dessert Table
- Incorporate the popsicles into a themed dessert table featuring other red, white, and blue treats like cakes and cupcakes.
As Party Favors
- Wrap individual popsicles in clear plastic and tie with a ribbon for delightful party favors at your next celebration.
With Whipped Cream
- Top each popsicle with a dollop of whipped cream for an indulgent twist that everyone will love.
For Kids’ Parties
- These colorful popsicles are perfect for kids’ gatherings. Set up a DIY station where kids can decorate their own popsicles with toppings.
How to Perfect Red, White and Blue Popsicles
Creating the perfect red, white, and blue popsicles is easy with these simple tips. Follow them to ensure your treats turn out beautifully every time!
- Use ripe fruit: Selecting ripe strawberries and blueberries enhances the flavor and natural sweetness of your popsicles.
- Layer properly: Make sure each layer is fully frozen before adding the next to avoid mixing colors.
- Experiment with sweetness: Adjust the level of sweetener based on your taste preference or dietary needs.
- Chill molds beforehand: Pre-chilling your molds helps keep the layers from melting too quickly when you pour in the mixtures.
- Add zest: Enhance flavor by adding lemon or lime zest to the mixtures for a citrusy kick.
- Store correctly: Keep your popsicles in an airtight container in the freezer to maintain freshness.
Best Side Dishes for Red, White and Blue Popsicles
These delightful popsicles can be complemented by various side dishes that enhance their festive appeal. Here are some great options:
- Fruit Salad: A mix of seasonal fruits tossed together for a light and refreshing side that pairs perfectly with the popsicles.
- Chips and Salsa: Crispy tortilla chips served with zesty salsa offer a savory contrast to the sweet popsicles.
- Grilled Veggies: Lightly seasoned grilled vegetables add a healthy touch alongside these colorful treats.
- Mini Sandwiches: Small sandwiches filled with turkey or ham provide protein to balance out the sweet flavors.
- Cheese Platter: A selection of cheeses can be an elegant addition that pairs well with fruity desserts.
- Potato Salad: This classic dish is always a hit at summer gatherings and complements sweet desserts nicely.
Common Mistakes to Avoid
Making Red, White and Blue Popsicles can be fun, but there are common mistakes to watch out for.
- Not freezing layers long enough: Ensure each layer is fully frozen before adding the next one. If the previous layer is not solid, the colors may mix, ruining the design.
- Skipping the blending step: Blending the ingredients thoroughly is crucial for a smooth texture. If you skip this, your popsicles may have chunks that affect consistency.
- Overfilling molds: Avoid overfilling by leaving space at the top of each mold. This allows for expansion as they freeze and prevents messes.
- Ignoring food coloring options: While optional, using food coloring enhances visual appeal. Not adding it may lead to less vibrant popsicles.
- Using non-appropriate containers: Make sure to use popsicle molds or containers designed for freezing. Regular cups or non-freezer-safe materials can lead to spills or breakage.
Storage & Reheating Instructions
Refrigerator Storage
- Short-term storage: Store leftover popsicles in the fridge for up to 2 days.
- Containers: Use airtight containers to keep them fresh and prevent freezer burn.
Freezing Red, White and Blue Popsicles
- Long-term storage: Freeze these popsicles for up to 3 months.
- Containers: Keep them in freezer-safe bags or molds for best results.
Reheating Red, White and Blue Popsicles
- Oven: Not recommended as popsicles do not reheat well in an oven setting.
- Microwave: Use low power settings for about 10 seconds to slightly soften if too hard.
- Stovetop: Avoid direct heat; instead, run under warm water for easy removal from molds.
Frequently Asked Questions
Here are some common questions about making Red, White and Blue Popsicles.
Can I use other fruits for layers?
Yes! You can substitute different fruits like raspberries or blackberries for unique flavors and colors.
How do I make vegan Red, White and Blue Popsicles?
Simply replace honey with agave nectar or maple syrup to keep your popsicles vegan-friendly.
What if I don’t have popsicle molds?
You can use small paper cups or ice cube trays as alternatives. Just insert sticks once partially frozen.
How long do these popsicles last in the freezer?
These popsicles will stay fresh in the freezer for up to 3 months when stored properly.
Can I add yogurt to these popsicles?
Definitely! Adding yogurt will create a creamier texture and additional flavor. Just blend it with coconut milk for the white layer.
Final Thoughts
These Red, White and Blue Popsicles are not only visually stunning but also deliciously refreshing. They’re perfect for summer gatherings or patriotic holidays. Feel free to customize with your favorite fruits or sweeteners! Give this recipe a try, and enjoy a delightful treat everyone will love.
Red, White and Blue Popsicles
Indulge in the vibrant and refreshing taste of Red, White and Blue Popsicles—an ideal treat for any patriotic celebration! These eye-catching popsicles are made with fresh strawberries, blueberries, and creamy coconut milk, offering a deliciously healthy alternative to store-bought frozen desserts. Perfect for gatherings such as Independence Day or Memorial Day, these homemade delights not only appeal to the eyes but also tantalize the taste buds. Easy to make and customizable with your favorite fruits, they are sure to impress guests of all ages. Enjoy a cool burst of fruity goodness on a hot summer day or at your next festive gathering!
- Total Time: 4 hours 20 minutes
- Yield: Approximately 6 popsicles 1x
Ingredients
- 13.5 ounces coconut milk
- 1 teaspoon pure vanilla extract
- 2 tablespoons sweetener (honey, agave nectar, or maple syrup)
- 1/3 cup fresh strawberries
- 1/3 cup fresh blueberries
- Optional food coloring
Instructions
- Blend coconut milk, vanilla, and sweetener until smooth; divide into three parts.
- Blend one part with strawberries for the red layer; chill.
- Blend another part with blueberries for the blue layer; chill.
- Pour red mixture into molds; freeze for 45–60 minutes.
- Add white layer; freeze for another 45–60 minutes.
- Pour blue layer on top; insert sticks when partially frozen.
- Final freeze until solid.
- Prep Time: 20 minutes
- Cook Time: 4 hours (freezing time)
- Category: Dessert
- Method: Freezing
- Cuisine: American
Nutrition
- Serving Size: 1 popsicle (75g)
- Calories: 80
- Sugar: 7g
- Sodium: 10mg
- Fat: 4g
- Saturated Fat: 3g
- Unsaturated Fat: 0g
- Trans Fat: 0g
- Carbohydrates: 10g
- Fiber: 1g
- Protein: 1g
- Cholesterol: 0mg
Keywords: Use ripe fruit for enhanced sweetness. Ensure each layer is fully frozen before adding the next to maintain distinct colors. Customize flavors by experimenting with other fruits.