
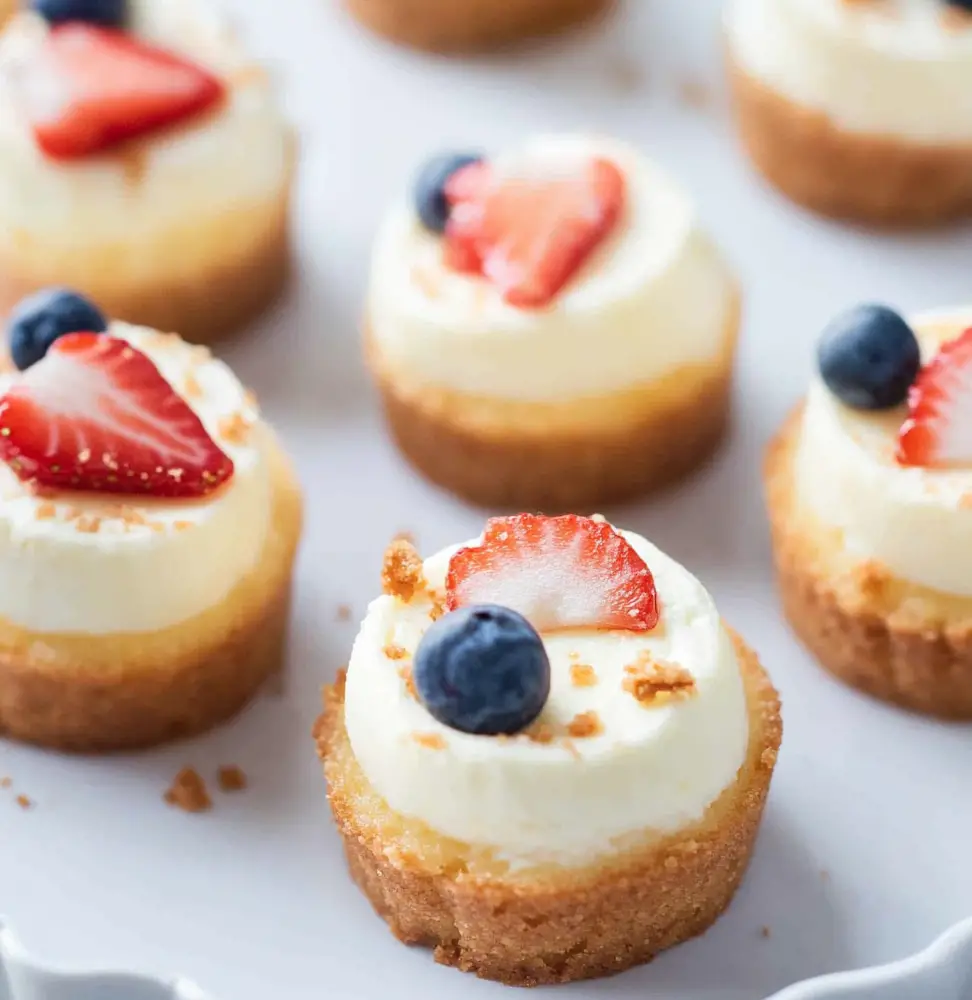
These delightful Mini Cheesecakes with Vanilla Wafers are the perfect festive treat for any occasion! Light and fluffy, they make an excellent dessert for gatherings, picnics, or just a cozy night in. With their customizable toppings, you can easily adapt them to fit holidays or personal tastes. The combination of cream cheese and vanilla wafers creates a scrumptious flavor that will leave your guests wanting more.
Why You’ll Love This Recipe
- Easy to Prepare: With simple ingredients and straightforward steps, these mini cheesecakes come together quickly.
- Versatile Toppings: Customize your cheesecakes with various fruits or sprinkles to suit any celebration.
- Perfect Portions: These mini-sized treats are great for portion control, making them ideal for parties.
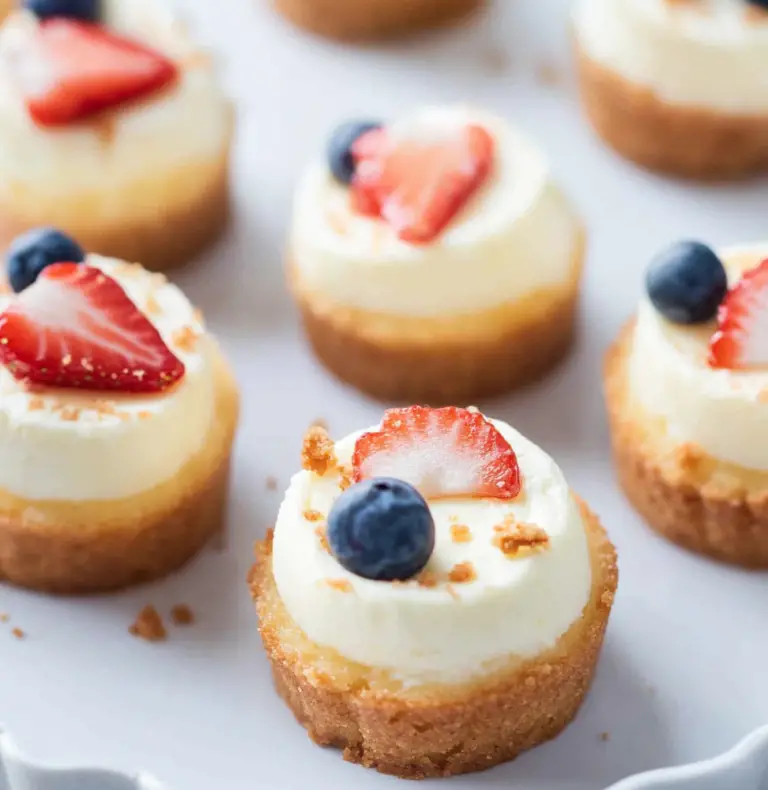
- Festive Appeal: Their charming appearance adds a fun touch to your dessert table, especially during holidays like the 4th of July.
- Crowd-Pleaser: With a creamy texture and sweet taste, these cheesecakes are sure to impress family and friends.
Tools and Preparation
Before you start baking your mini cheesecakes, gather the necessary tools. Having everything ready will streamline the process and ensure success.
Essential Tools and Equipment
- Mini cupcake pan
- Mixing bowls
- Electric mixer
- Measuring cups
- Measuring spoons
- Rubber spatula
Importance of Each Tool
- Mini cupcake pan: This is crucial for shaping your cheesecakes perfectly into bite-sized portions.
- Electric mixer: An electric mixer helps achieve a smooth texture by thoroughly blending the cream cheese and sugar without lumps.
- Rubber spatula: A rubber spatula is essential for scraping down the sides of bowls, ensuring all ingredients are well combined.
Ingredients
These light and fluffy 4th of July Mini Cheesecakes are the perfect holiday treat! Easily make them using a mini cupcake pan and basic ingredients! Easily customize them for any occasion or holiday by switching out the cheesecake topping!
For the Cheesecake Base
- Cream Cheese (softened) – 2 (8 oz packages)
- Sugar – 3/4 cup
- Eggs – 3
- Lemon Juice – 1 tsp
- Vanilla Extract – 1 tsp
- Mini Nilla Wafers – 48
For the Topping
- Cream Cheese (softened) – 1 (8 oz package)
- Powdered Sugar – 2 cups
- Lemon Juice – 1 tsp
- Vanilla Extract – 1 tsp
- Strawberries (diced) – 1/2 cup
- Blueberries – 1/2 cup
- Raspberries – 1/2 cup
- Red, White and Blue Sprinkles
How to Make Mini Cheesecakes with Vanilla Wafers
Step 1: Preheat the Oven
Preheat your oven to 325°F (160°C). This ensures that your mini cheesecakes bake evenly.
Step 2: Prepare the Cupcake Pan
Line a mini cupcake pan with paper liners. This makes it easy to remove the cheesecakes after baking.
Step 3: Make the Cheesecake Batter
In a mixing bowl, combine softened cream cheese and sugar. Use an electric mixer on medium speed until smooth. Then, add in eggs one at a time, mixing well after each addition. Finally, mix in lemon juice and vanilla extract until fully incorporated.
Step 4: Assemble Mini Cheesecakes
Place one mini Nilla wafer at the bottom of each cupcake liner. Spoon cheesecake batter over each wafer until about two-thirds full.
Step 5: Bake
Bake in preheated oven for about 20-25 minutes or until the centers are set. Remove from oven and let cool completely in the pan before transferring to a wire rack.
Step 6: Prepare Topping
While cooling, beat together softened cream cheese, powdered sugar, lemon juice, and vanilla extract until smooth. Once cheesecakes are cool, spread topping over each cheesecake.
Step 7: Add Fruit Toppings
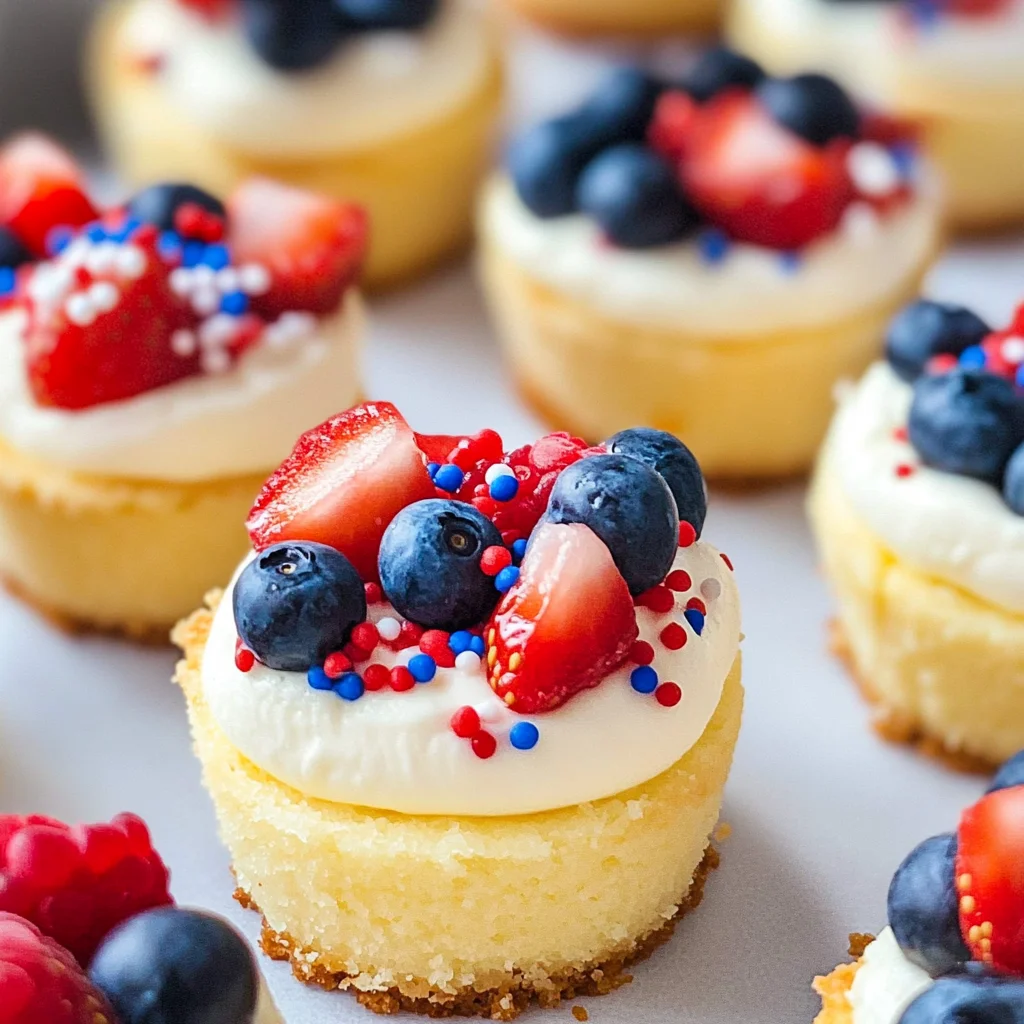
Top each cheesecake with diced strawberries, blueberries, and raspberries as desired. Finish with red, white, and blue sprinkles for that festive touch!
Now you have delicious Mini Cheesecakes with Vanilla Wafers ready to serve! Enjoy this delightful dessert at your next gathering!
How to Serve Mini Cheesecakes with Vanilla Wafers
Mini cheesecakes with vanilla wafers make a delightful dessert for any occasion. Their bite-sized nature allows for easy serving and sharing, making them perfect for gatherings or celebrations.
Individual Dessert Cups
- Serve each mini cheesecake in its own cup for a neat presentation. This allows guests to easily grab their own dessert without any mess.
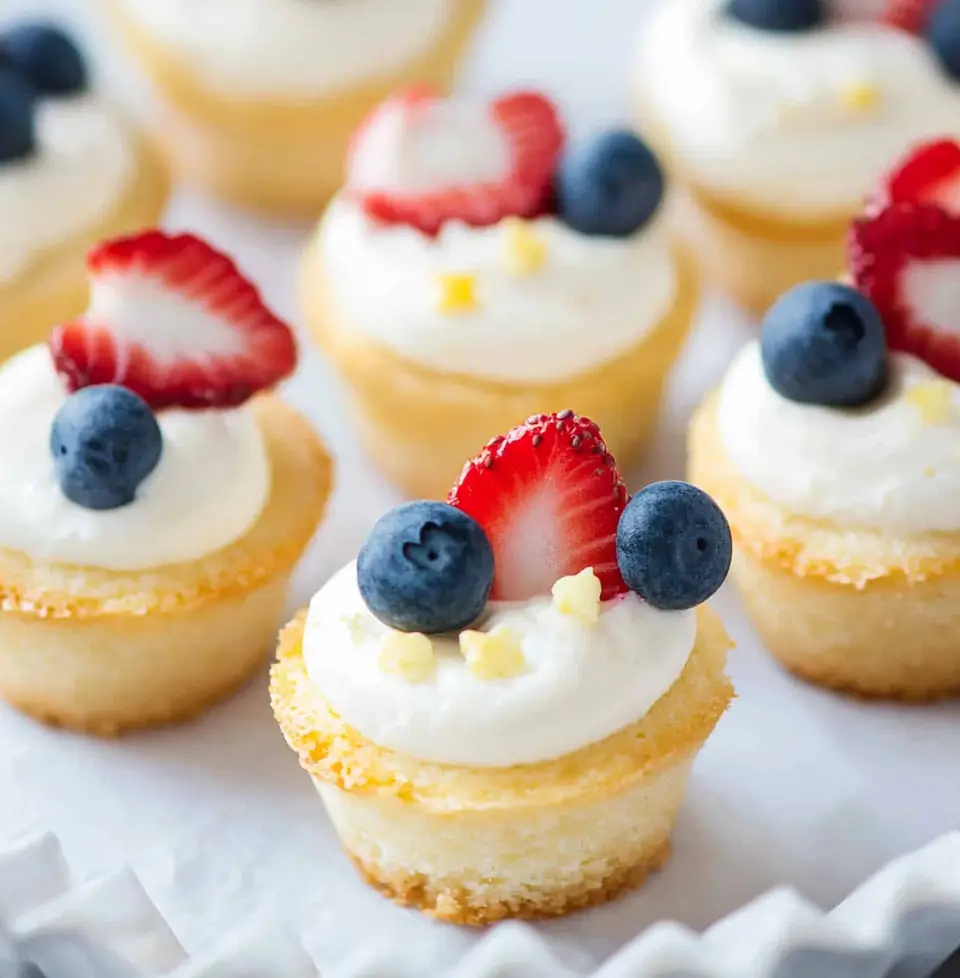
Topped with Fresh Berries
- Add a mix of strawberries, blueberries, and raspberries on top of each cheesecake. This not only enhances the flavor but also adds a vibrant color to your dessert table.
Garnished with Whipped Cream
- A dollop of whipped cream on top adds extra creaminess. For added flair, you can pipe the whipped cream using a star tip for a decorative look.
Decorated with Sprinkles
- Use red, white, and blue sprinkles to tie in with holiday themes like the 4th of July. This adds a festive touch and makes the cheesecakes visually appealing.
Served on a Dessert Platter
- Arrange mini cheesecakes on a large platter alongside other desserts. This creates an inviting dessert table, encouraging guests to sample multiple treats.
Paired with Coffee or Tea
- Serve these mini cheesecakes alongside coffee or tea for a delightful pairing. The rich flavors complement each other beautifully, enhancing the overall experience.
How to Perfect Mini Cheesecakes with Vanilla Wafers
Perfecting your mini cheesecakes can elevate them from good to great. Here are some helpful tips to ensure your treats turn out flawlessly.
- Use Room Temperature Cream Cheese: Ensure your cream cheese is softened before mixing. This helps create a smooth texture without lumps.
- Don’t Overmix the Batter: Mix just until combined to avoid incorporating too much air. Overmixing can cause cracks in the cheesecake during baking.
- Preheat Your Oven: Always preheat your oven before baking. A consistent temperature is crucial for even baking and helps achieve that perfect fluffy texture.
- Cool Gradually: After baking, allow the cheesecakes to cool in the pan for about 10 minutes before transferring them to a wire rack. This prevents sudden temperature changes that could cause cracking.
- Chill Before Serving: Refrigerate the mini cheesecakes for at least 2 hours before serving. Chilling enhances their flavor and allows them to set properly.
- Experiment with Toppings: Feel free to get creative with toppings! Try different fruits or sauces based on seasonal availability or personal preference.
Best Side Dishes for Mini Cheesecakes with Vanilla Wafers
Pairing side dishes with your mini cheesecakes can enhance your dessert experience. Here are some delicious options that complement their sweetness perfectly.
- Fresh Fruit Salad: A light and refreshing mix of seasonal fruits balances the richness of the cheesecake and provides a burst of flavor.
- Chocolate-Covered Strawberries: These sweet treats add an indulgent touch while still being easy to eat alongside mini cheesecakes.
- Vanilla Ice Cream: A scoop of creamy vanilla ice cream pairs well with cheesecakes, offering contrasting temperatures and textures.
- Mini Fruit Tarts: These bite-sized tarts filled with custard and topped with fruit provide another delightful option that complements the flavors of mini cheesecakes.
- Homemade Granola Bars: Crunchy granola bars add texture and nutrition, making them an excellent contrast to creamy desserts.
- Lemon Sorbet: A tangy lemon sorbet acts as a palate cleanser between bites of rich cheesecake, refreshing your taste buds.
- Cheese Platter: A selection of mild cheeses pairs nicely, providing savory notes that balance out the sweetness of the desserts.
- Nut Mixes: Offer an assortment of nuts as crunchy snacks that add variety and can be enjoyed alongside sweet treats like mini cheesecakes.
Common Mistakes to Avoid
Making Mini Cheesecakes with Vanilla Wafers can be a delightful experience, but it’s easy to make mistakes that could affect the final result.
- Overmixing the Batter: This can lead to dense cheesecakes. Mix just until smooth and combined.
- Skipping the Room Temperature Ingredients: Cold cream cheese can create lumps in your batter. Always soften cream cheese before mixing.
- Not Using a Water Bath: Baking without a water bath might cause cracks. If possible, use one to ensure even baking.
- Ignoring Cooling Time: Letting the cheesecakes cool too quickly can lead to cracks. Allow them to cool gradually at room temperature.
- Not Chilling Before Serving: Serving immediately can compromise texture. Chill the mini cheesecakes for at least 2 hours before enjoying.
Storage & Reheating Instructions
Refrigerator Storage
- Duration: Mini cheesecakes can be stored for up to 5 days in the refrigerator.
- Containers: Store them in an airtight container to maintain freshness.
Freezing Mini Cheesecakes with Vanilla Wafers
- Duration: You can freeze these mini cheesecakes for up to 2 months.
- Containers: Use freezer-safe containers or wrap each cheesecake tightly in plastic wrap.
Reheating Mini Cheesecakes with Vanilla Wafers
- Oven: Preheat the oven to 350°F (175°C). Place cheesecakes on a baking sheet and heat for about 10 minutes.
- Microwave: Heat individual servings on low power for about 15-20 seconds, checking frequently.
- Stovetop: Place in a pan over low heat, cover, and warm gently for a few minutes.
Frequently Asked Questions
Here are some common questions about making Mini Cheesecakes with Vanilla Wafers.
Can I customize the toppings for my mini cheesecakes?
Absolutely! You can switch out fruits or add different toppings like chocolate or nuts according to your taste.
How do I prevent my mini cheesecakes from cracking?
Using a water bath during baking helps maintain moisture and regulates temperature, reducing the chance of cracks.
What is the best way to serve Mini Cheesecakes with Vanilla Wafers?
Serve chilled, topped with fresh fruits and whipped cream or sprinkles for an extra festive touch!
How long do Mini Cheesecakes with Vanilla Wafers last?
These delicious treats can last up to 5 days in the refrigerator and up to 2 months if frozen properly.
Can I use different flavors of cream cheese?
Yes! Feel free to experiment with flavored cream cheese varieties like strawberry or chocolate for unique tastes.
Final Thoughts
These Mini Cheesecakes with Vanilla Wafers are not only light and fluffy but also highly customizable for any occasion. Add your favorite fruit toppings or even try different flavors of cream cheese. Enjoy this versatile dessert that’s perfect for gatherings or simply as a treat at home!
Mini Cheesecakes with Vanilla Wafers
Indulge in these delightful Mini Cheesecakes with Vanilla Wafers, the perfect bite-sized treat for any festive occasion! These fluffy cheesecakes are easy to make and can be customized with your favorite toppings, making them a hit at gatherings, picnics, or cozy nights in. The creamy combination of softened cream cheese and sweet vanilla wafers creates a scrumptious flavor that will impress everyone. Whether you’re celebrating a holiday or simply treating yourself, these mini cheesecakes are sure to please!
- Total Time: 40 minutes
- Yield: Serves approximately 24 mini cheesecakes
Ingredients
- Cream Cheese (softened) – 3 packages (8 oz each)
- Sugar – 3/4 cup
- Eggs – 3
- Lemon Juice – 2 tsp
- Vanilla Extract – 2 tsp
- Mini Nilla Wafers – 48
- Powdered Sugar – 2 cups
- Fresh Berries (strawberries, blueberries, raspberries) – 1.5 cups
- Red, White and Blue Sprinkles
Instructions
- Preheat the oven to 325°F (160°C). Line a mini cupcake pan with paper liners.
- In a mixing bowl, blend softened cream cheese and sugar until smooth using an electric mixer. Add eggs one at a time, mixing well after each addition. Incorporate lemon juice and vanilla extract.
- Place one mini Nilla wafer in each cupcake liner and fill with cheesecake batter until two-thirds full.
- Bake for 20-25 minutes or until set. Cool completely in the pan before transferring to a wire rack.
- For the topping, beat together additional cream cheese, powdered sugar, lemon juice, and vanilla extract until smooth. Spread over cooled cheesecakes.
- Top with fresh berries and sprinkles as desired.
- Prep Time: 15 minutes
- Cook Time: 25 minutes
- Category: Dessert
- Method: Baking
- Cuisine: American
Nutrition
- Serving Size: 1 serving
- Calories: 170
- Sugar: 12g
- Sodium: 100mg
- Fat: 9g
- Saturated Fat: 5g
- Unsaturated Fat: 4g
- Trans Fat: 0g
- Carbohydrates: 19g
- Fiber: <1g
- Protein: 3g
- Cholesterol: 50mg
Keywords: Use room temperature cream cheese for a smoother texture. Avoid overmixing to prevent cracks in the cheesecake. Chill your cheesecakes for at least 2 hours before serving for the best flavor.